This article contains affiliate links. If you buy through one, Hyggero earns a small commission at no cost to you. It never changes what we recommend.
As I start training for an Ironman, my bike is becoming part of the apartment in a new way. It needs to be accessible several times a week, occasionally connected to an indoor trainer, and kept from being knocked against a wall. I also do not want the room to feel like an equipment locker.
That is the real bike storage problem. The best solution does not merely fit the bicycle. It matches how often you ride, whether you may drill into the walls, how much lifting you are comfortable doing, and whether the bike should disappear or remain visible.
These bike storage ideas begin with small homes, then move into garage systems. Before buying, measure the bicycle at its widest and longest points—including pedals, handlebars and aero bars—and check how the rack supports it. A mount designed around a conventional top tube or shallow wheel may not suit every road, triathlon, step-through or carbon-frame bike.
1. Stand one bike vertically without drilling into the wall
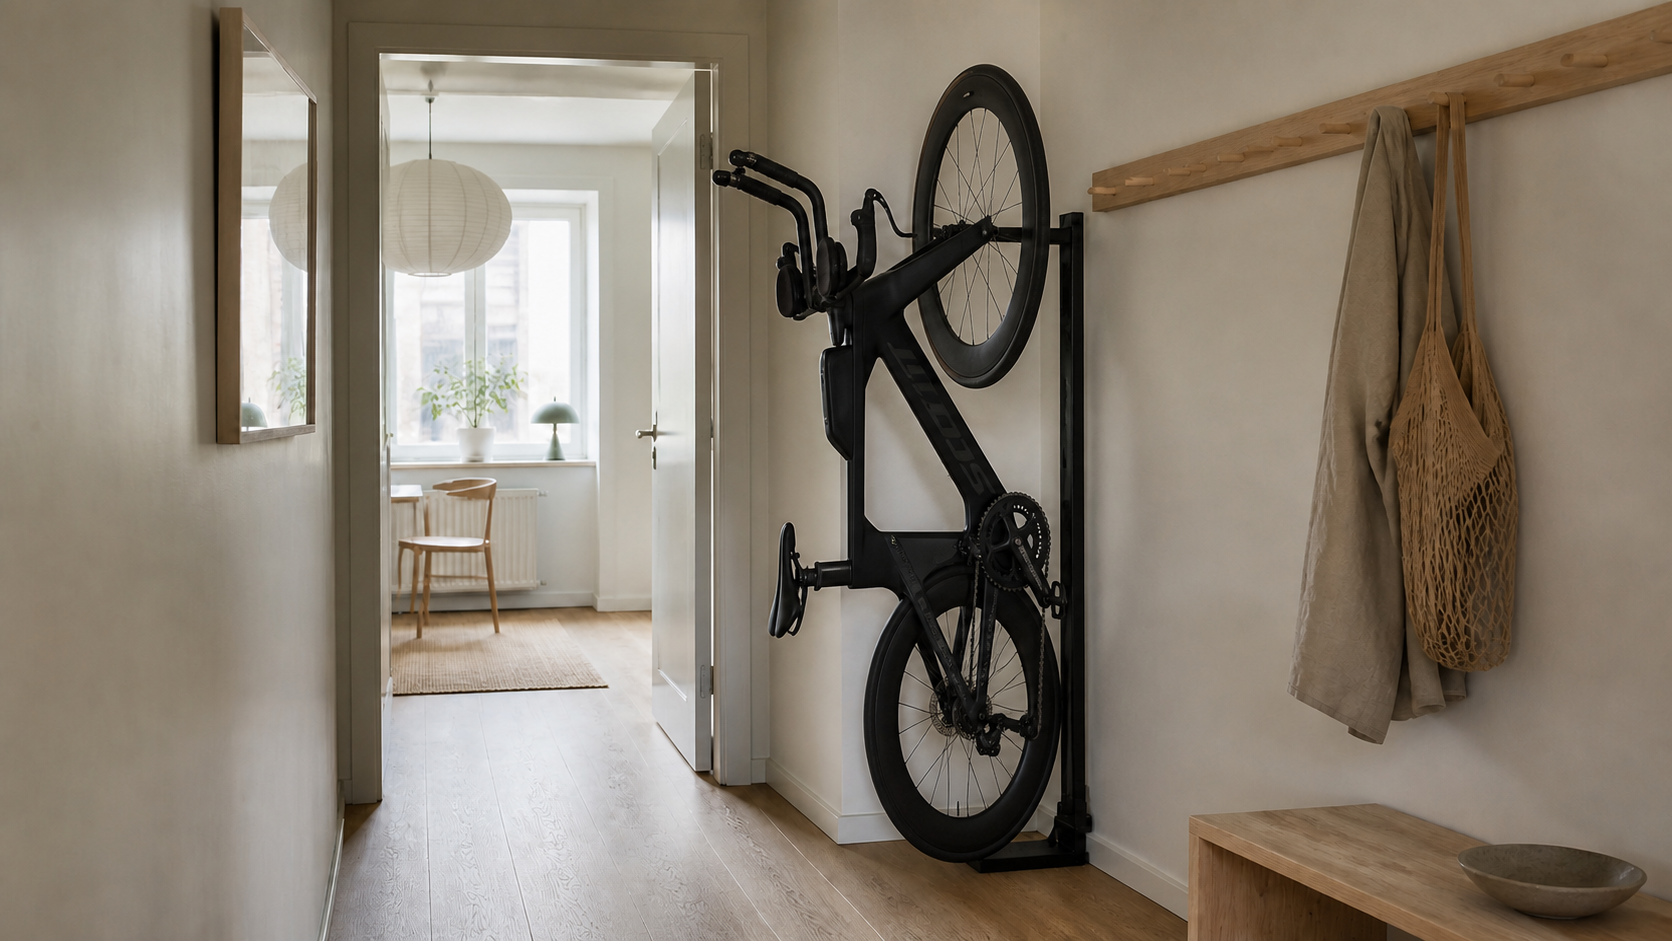
If you rent, start with the least permanent solution. A freestanding vertical rack uses height rather than wall width and can move when the room changes. It is especially useful when the bike needs to remain close to the door but cannot occupy the whole hallway.
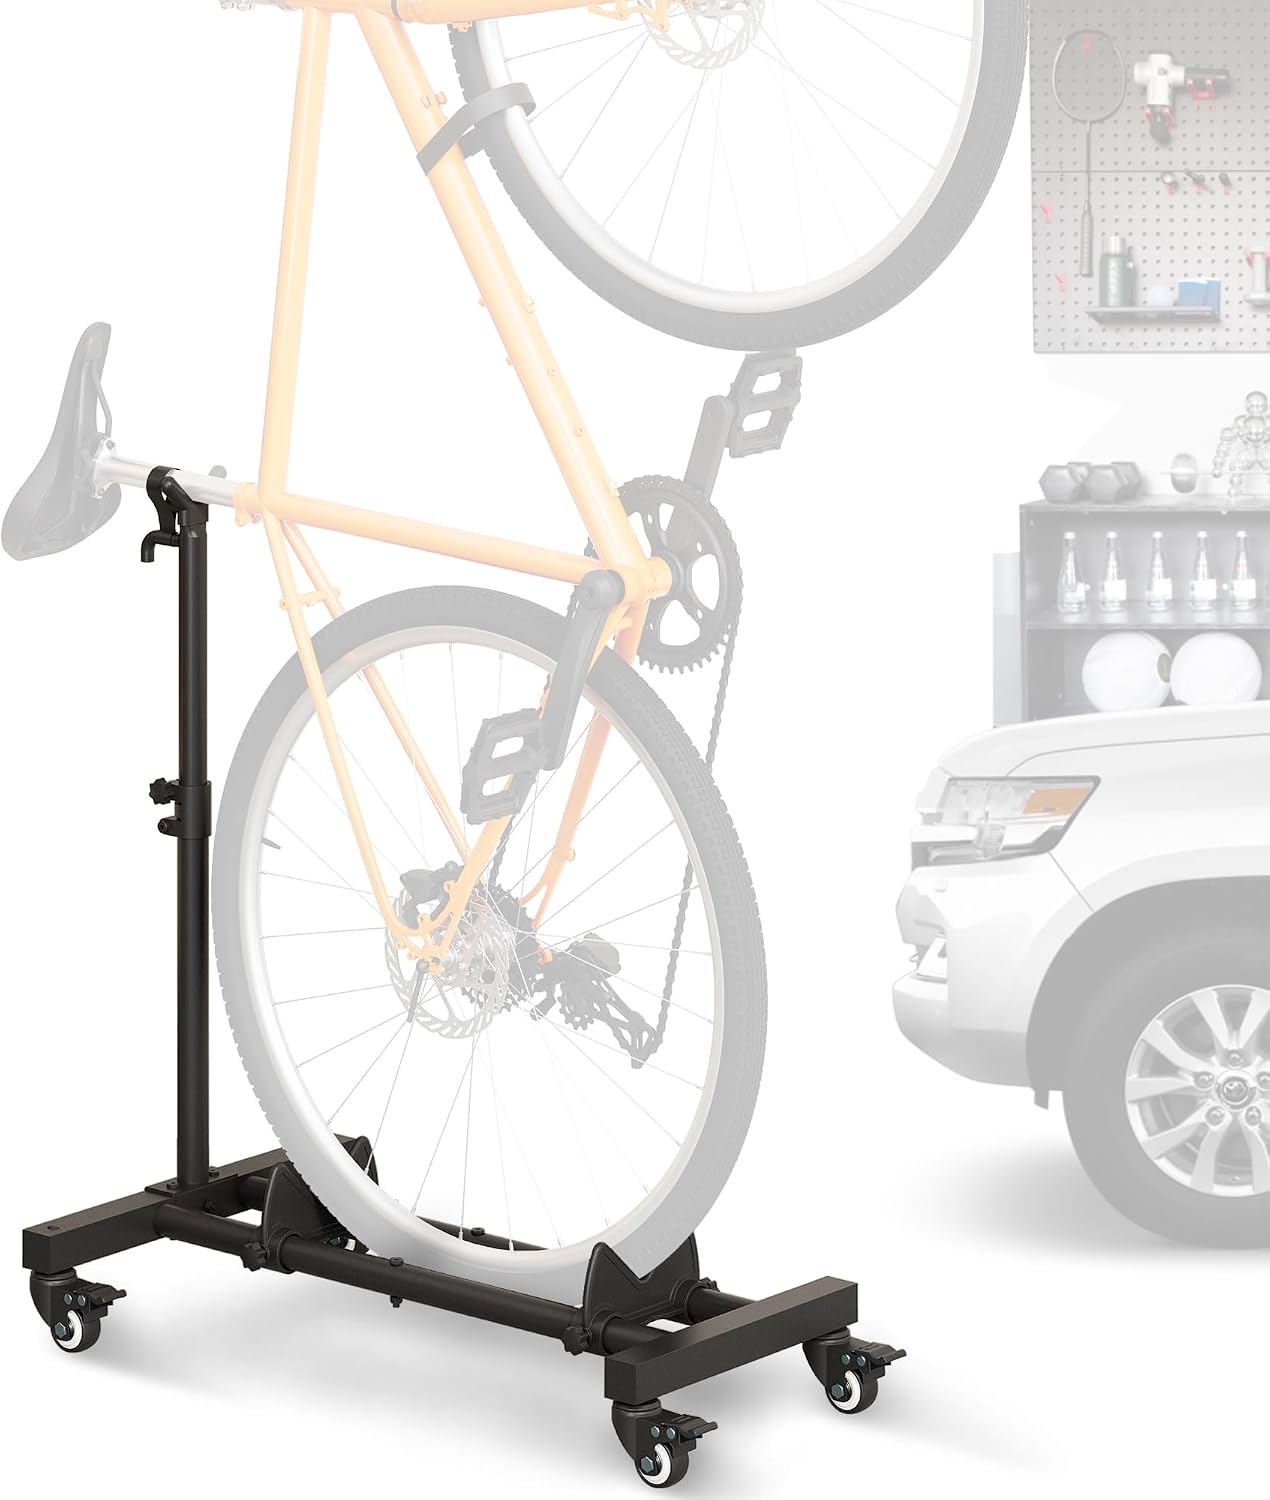
The Sttoraboks vertical freestanding bike stand creates a compact upright position without attaching anything to the wall. Its listed floor footprint is approximately 27 by 17 inches, although the complete stored-bike footprint will be larger.
Place it where the handlebars do not project into the walking route. For a triathlon bike, include the aero extensions in that measurement; the stand may save floor width while the cockpit still reaches surprisingly far into the room.
2. Use a freestanding two-bike rack when wall permission is the problem
Two bicycles leaning together quickly become difficult to use. Pedals catch in spokes, and the bike at the back is never the one you need.
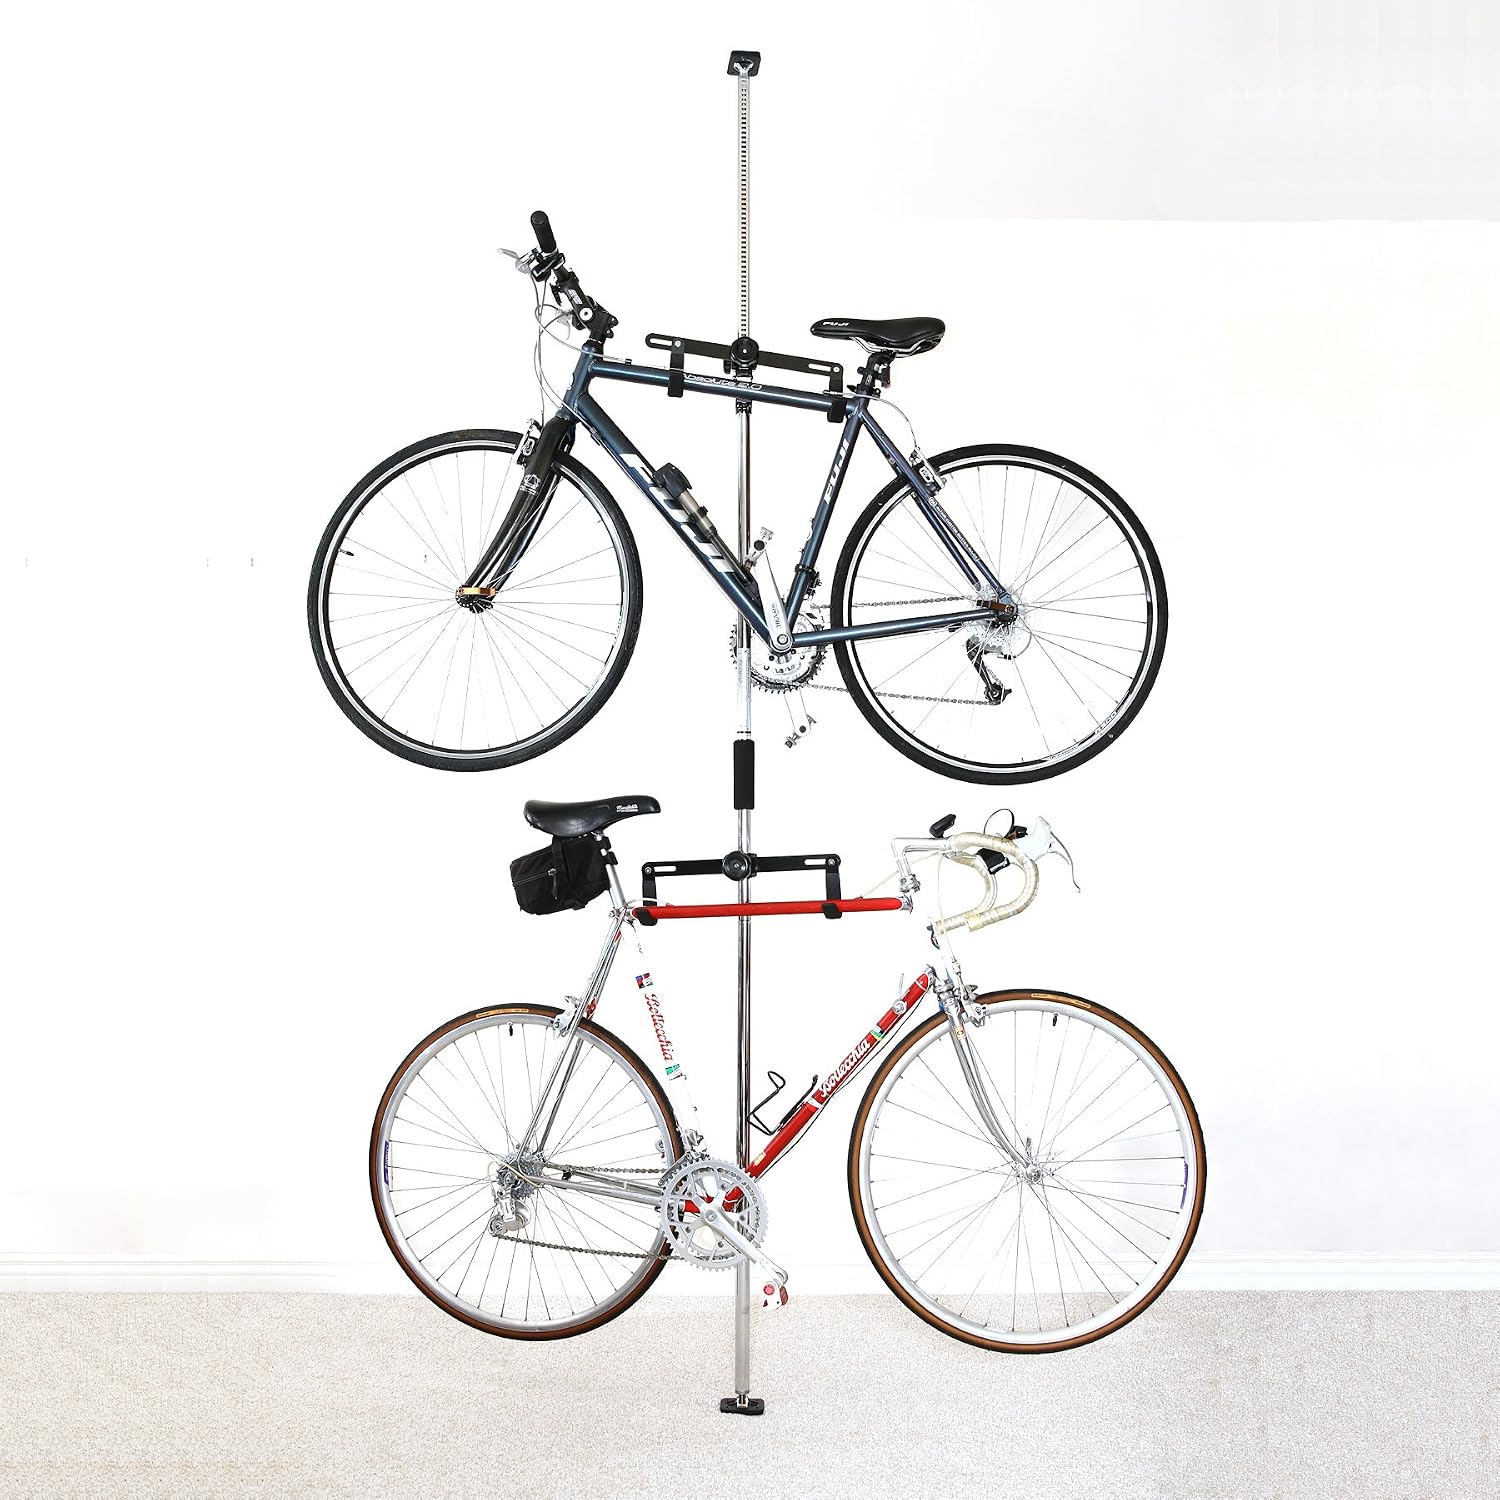
The SPAREHAND Q-Rack II dual-bike storage rack holds two bikes on adjustable arms and has a listed combined capacity of 80 pounds. Because it supports the frame, bikes without a conventional top tube may require the separately sold adapter.
Give the frequently used bike the lower position and the lighter or less frequently ridden bike the upper one.
3. Let a vertical wall rack pivot out of the way
A fixed vertical hook saves wall width but leaves the bike projecting into the room. A swivelling mount improves that arrangement by allowing the bicycle to rotate toward the wall after it is hung.
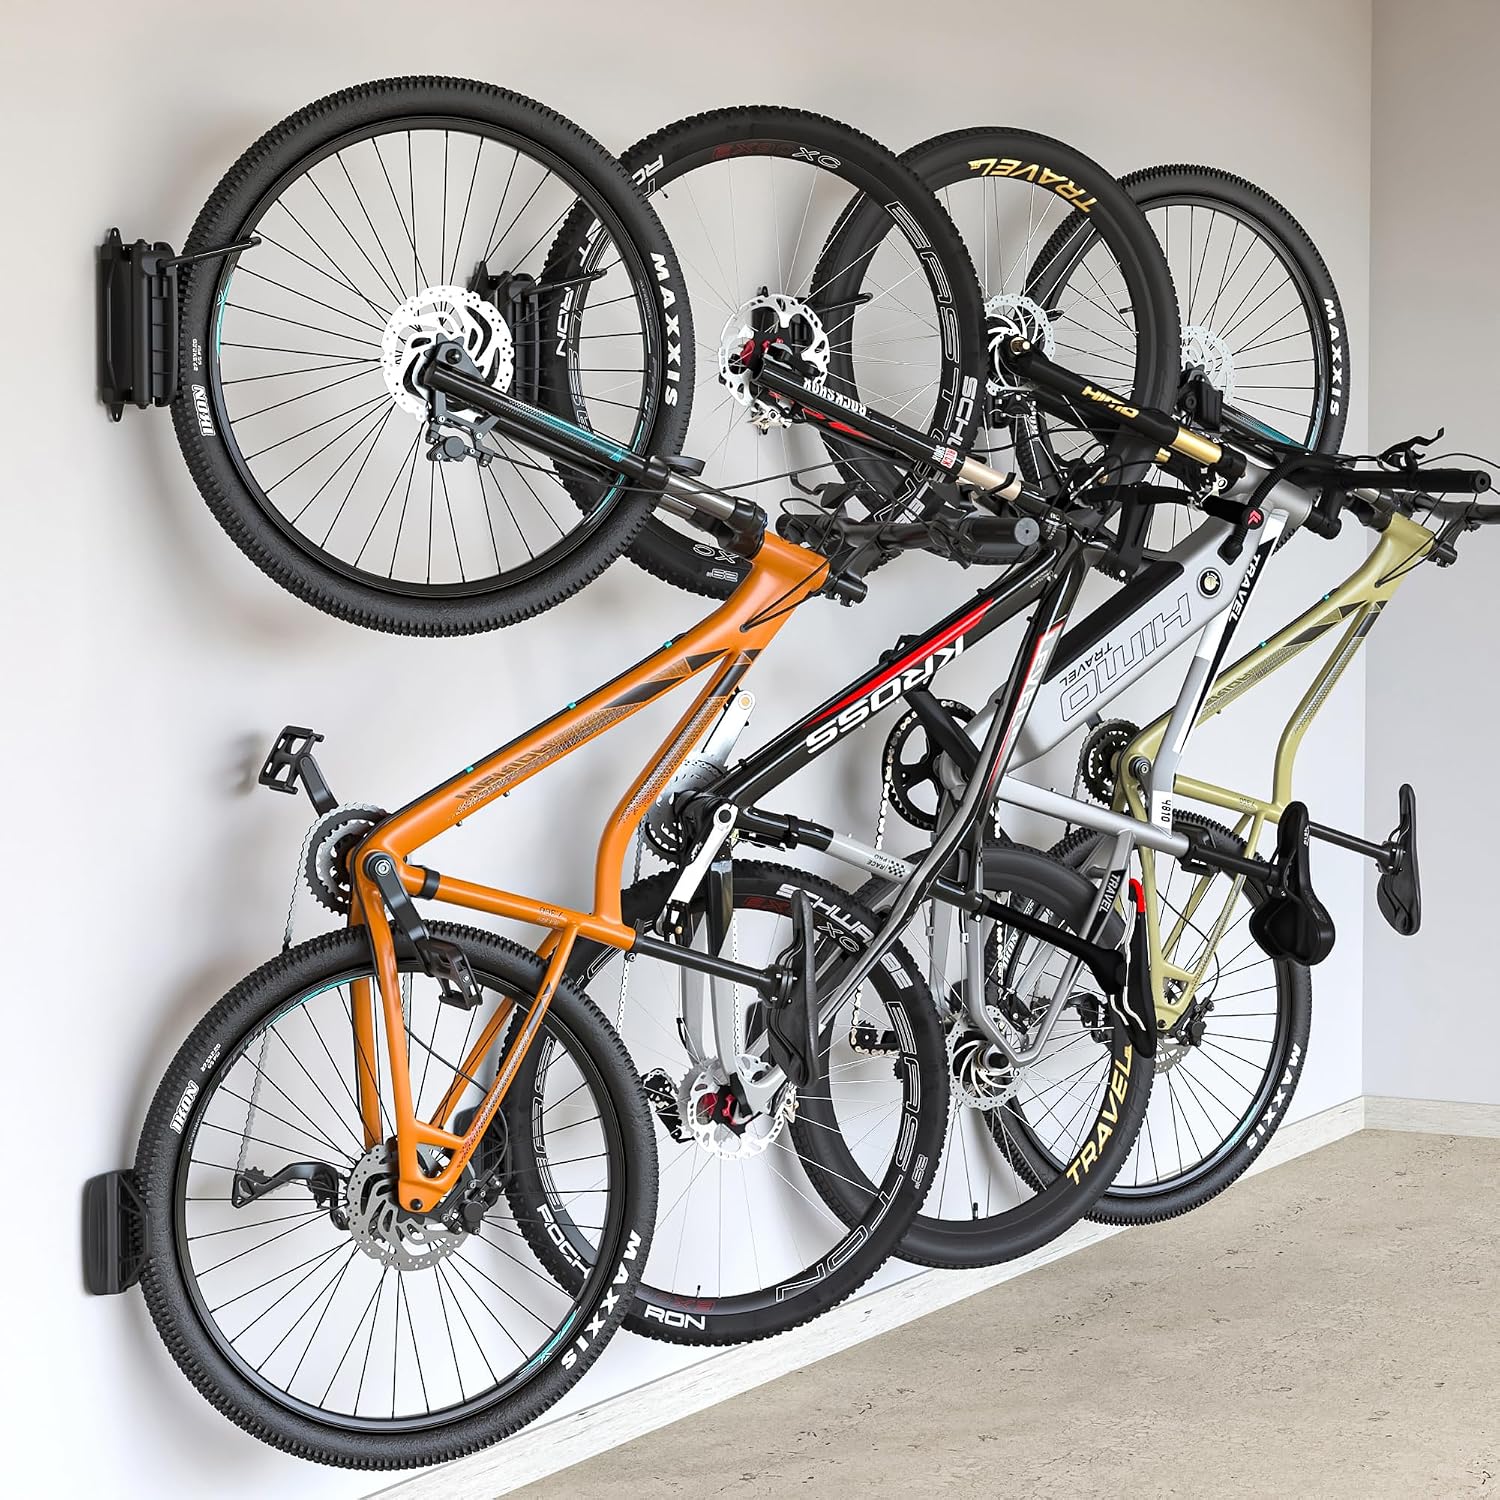
The monTEK swivelling vertical bike mounts are sold here as a four-pack and are listed to support up to 66.2 pounds per mount. They suit a garage row, although one can also solve a narrow indoor wall.
Installation matters more than the headline capacity. Fix the mount into the structural material specified by the manufacturer, confirm that the hook suits the tyre and wheel profile, and leave enough vertical clearance to lift the bike into place without striking the ceiling.
4. Turn a visible bike into one complete gear station
If the bike must live in the bedroom, office or living area, scattered equipment usually creates more visual noise than the frame itself. A horizontal mount with designated places for a helmet and shoes makes the arrangement read as one intentional station.
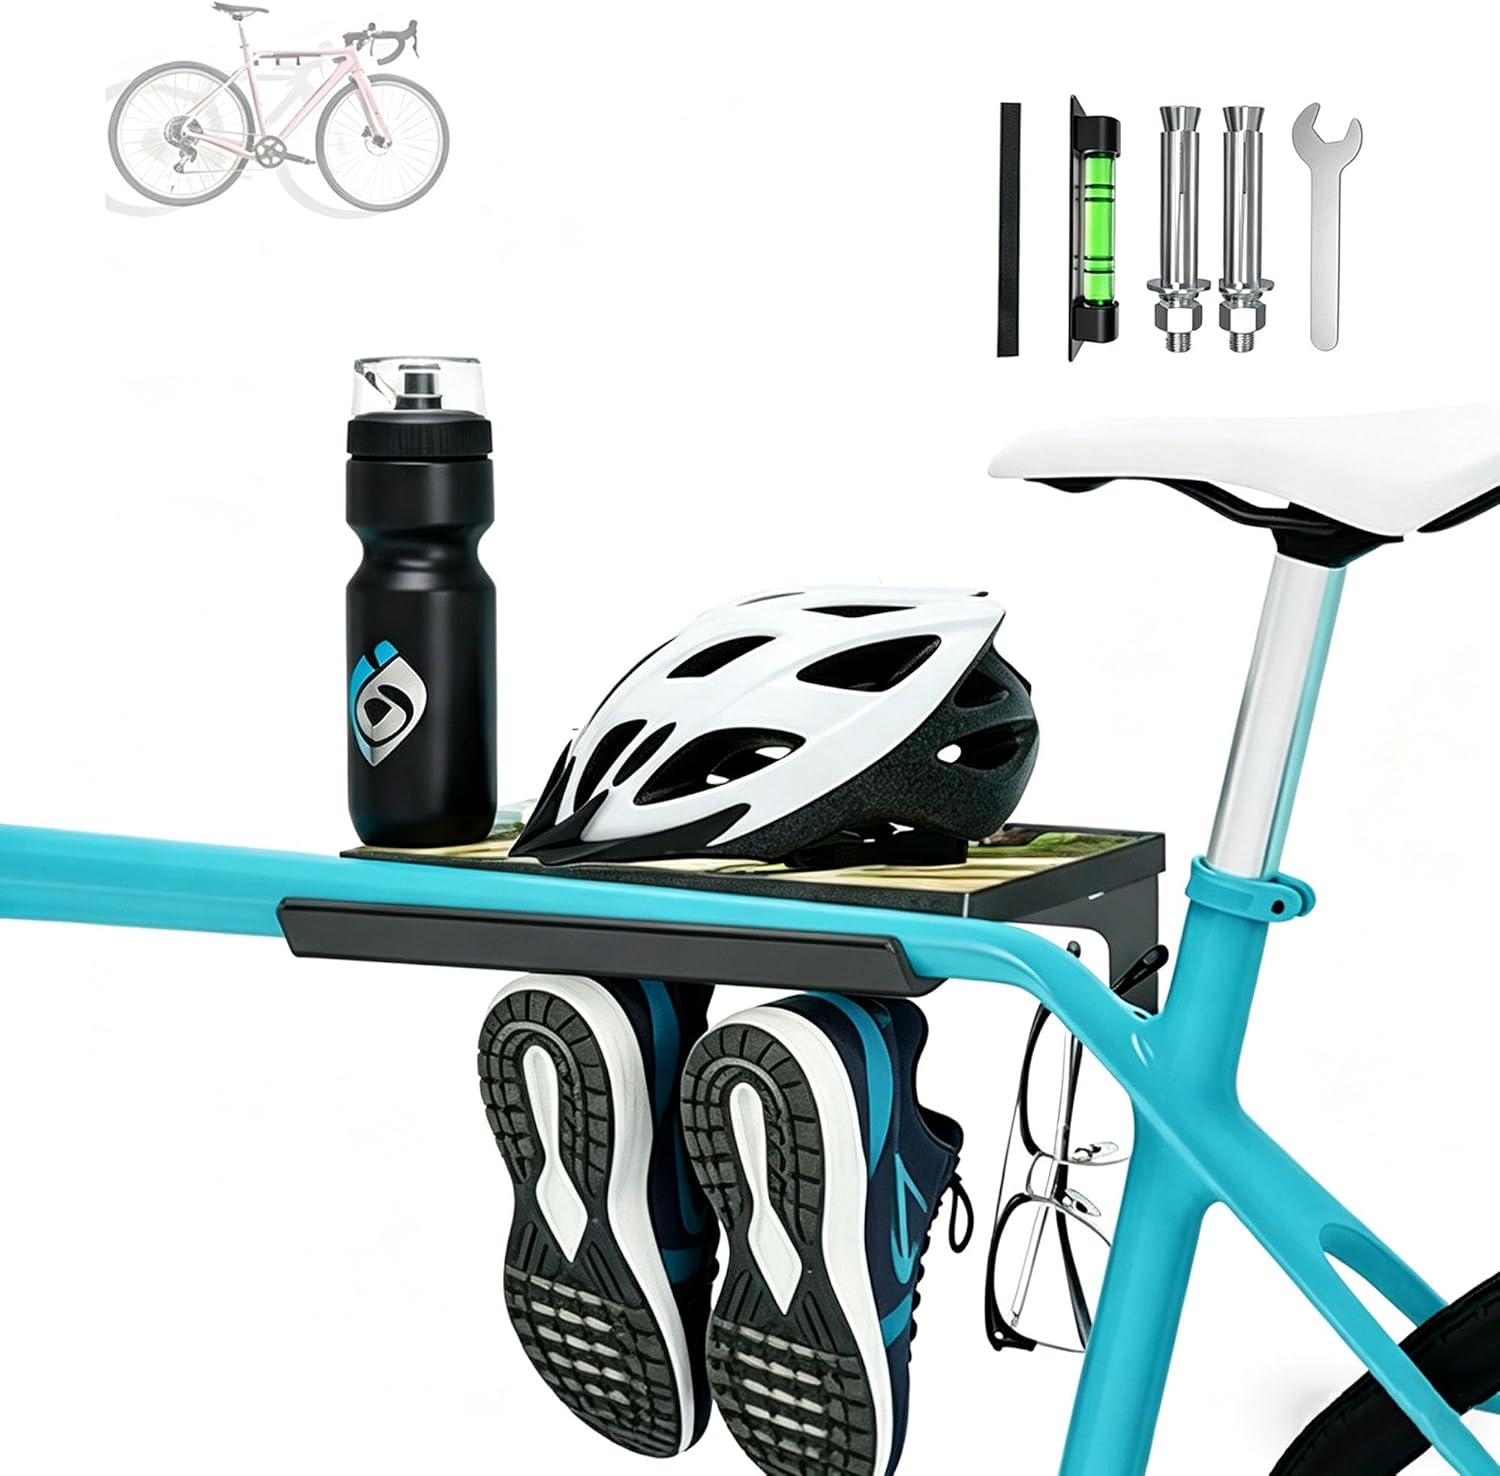
The KOQEIEY horizontal bike and gear wall mount combines bike storage with space for the items used on every ride.
Check the frame-contact points carefully. Horizontal arms must suit the top-tube shape and be properly padded, particularly on a carbon frame. Measure the depth from the wall to the outermost handlebar or aero extension before choosing a position above furniture.
5. Contain tyre dirt instead of pretending the bike is decorative
A bicycle can look sculptural in a room until it returns from a wet ride. The practical problem is then water, grit and chain residue—not the rack itself.
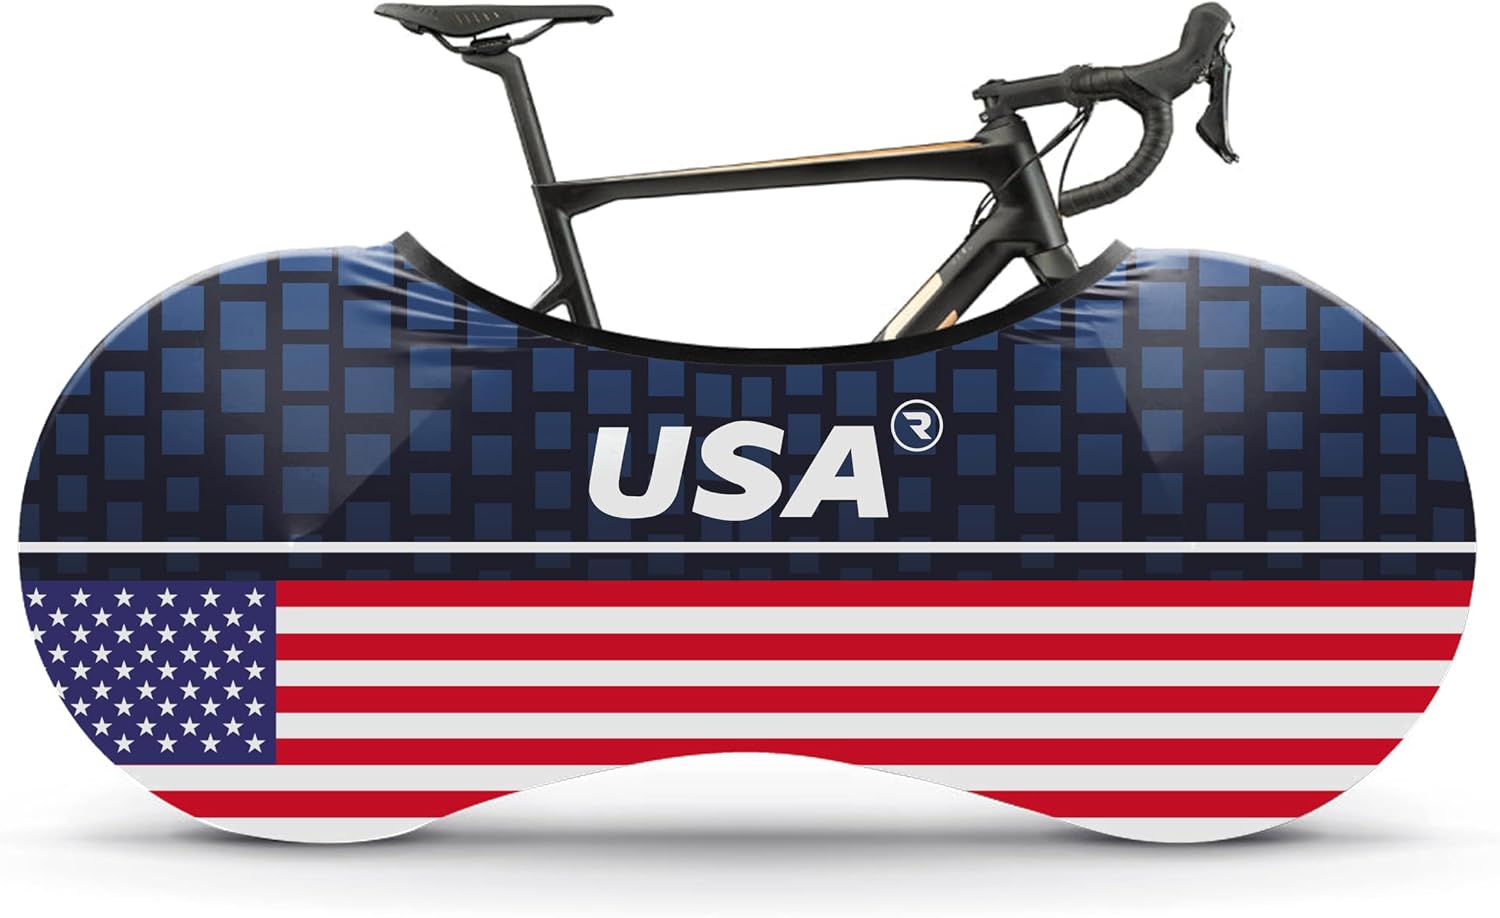
The RSSCsports high-elastic indoor bike cover creates a washable barrier, useful when the bike sits near curtains, pale walls or clothing.
Do not cover the bike immediately after a wet ride. Wipe the tyres and frame, allow the drivetrain and contact points to dry, then fit the cover. Confirm the chosen size against the full length of the bike rather than relying only on wheel diameter.
6. Give the indoor trainer a parking position
Ironman preparation changes the question because the bicycle alternates between road use and an indoor trainer. If the trainer and accessories spread across the room, removing the bike does not return the room to normal.
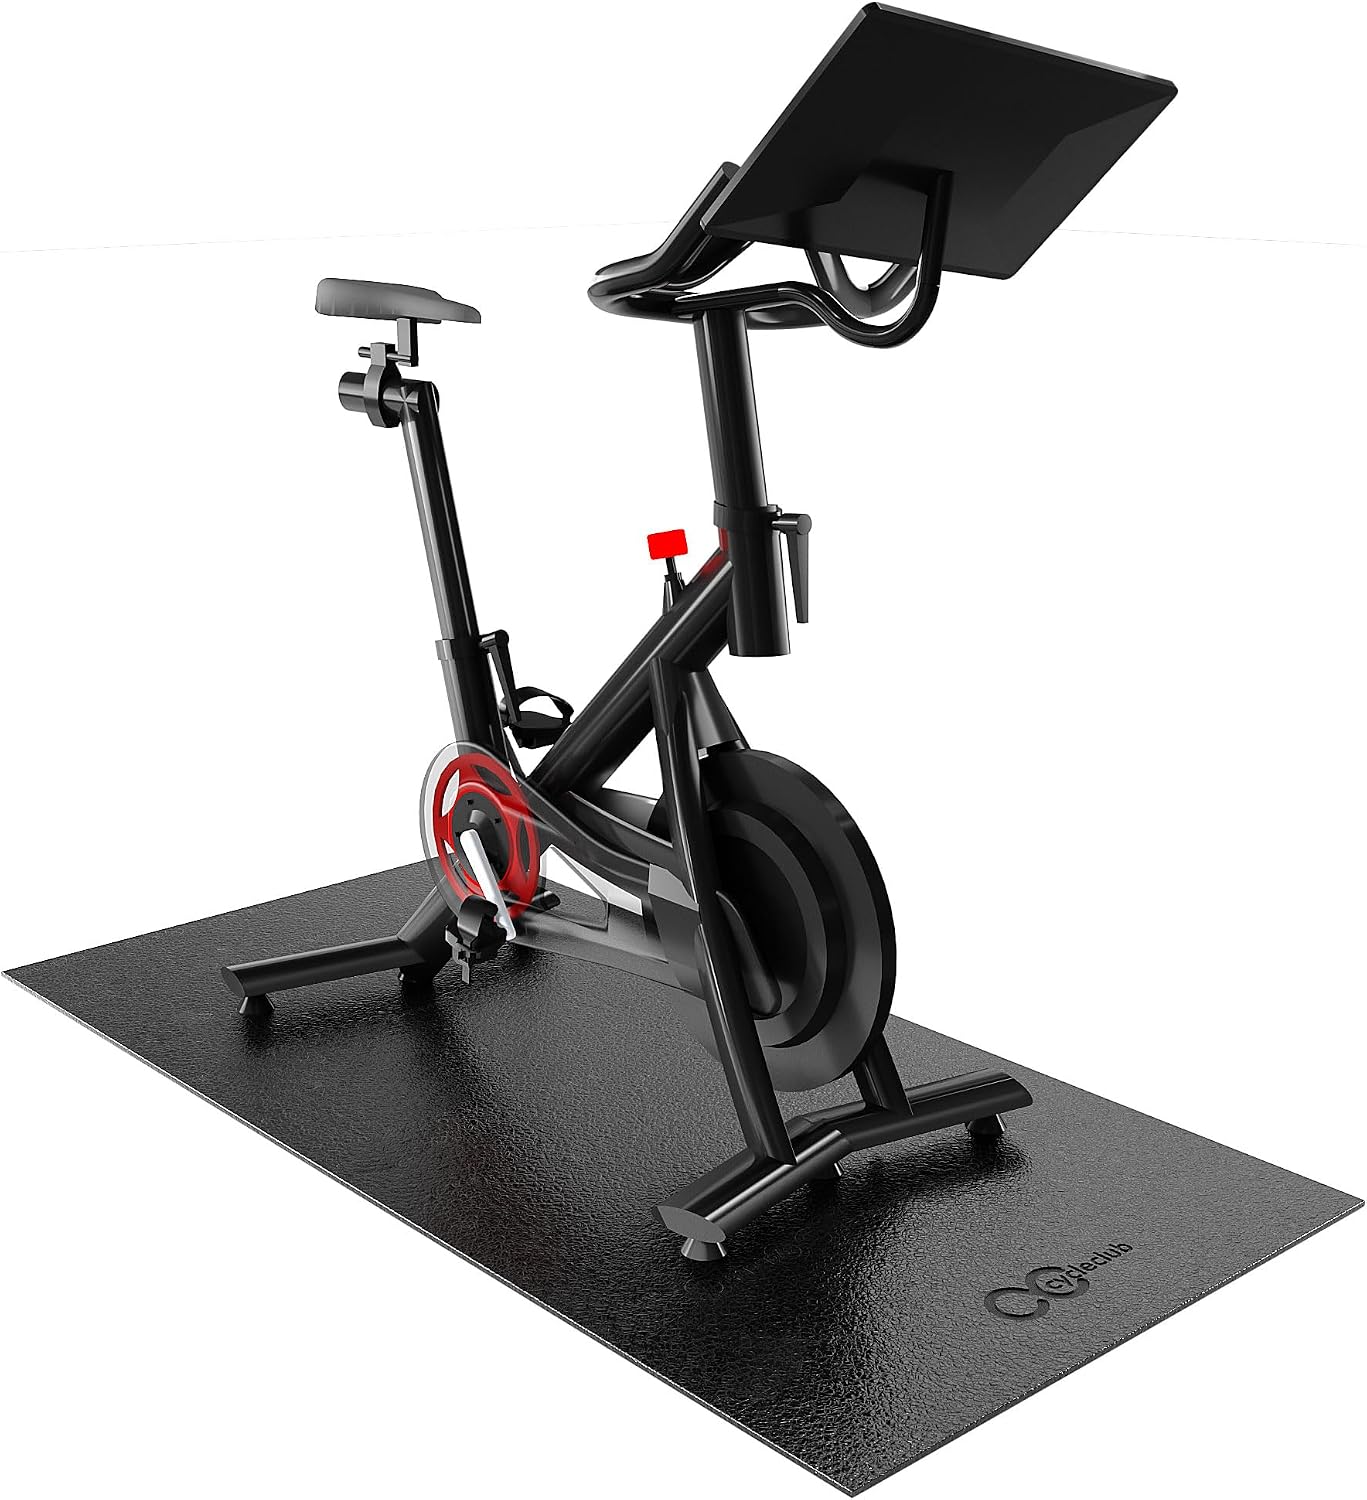
The Cycleclub bike trainer mat is listed at approximately 30 by 60 inches and 6 millimetres thick. It can protect the floor from sweat and equipment movement, but measure the entire bike-and-trainer setup first; some road-bike configurations will extend beyond it.
Treat the mat as the boundary. The trainer, riser, towel and fan should either fit within that footprint or have one nearby storage place. A defined training zone is easier to reset than equipment distributed around the apartment.
7. Keep the most frequently used bike easiest to remove
The cleverest rack fails if retrieving the bicycle requires moving furniture. Storage should reduce friction when the bike is used several times per week.
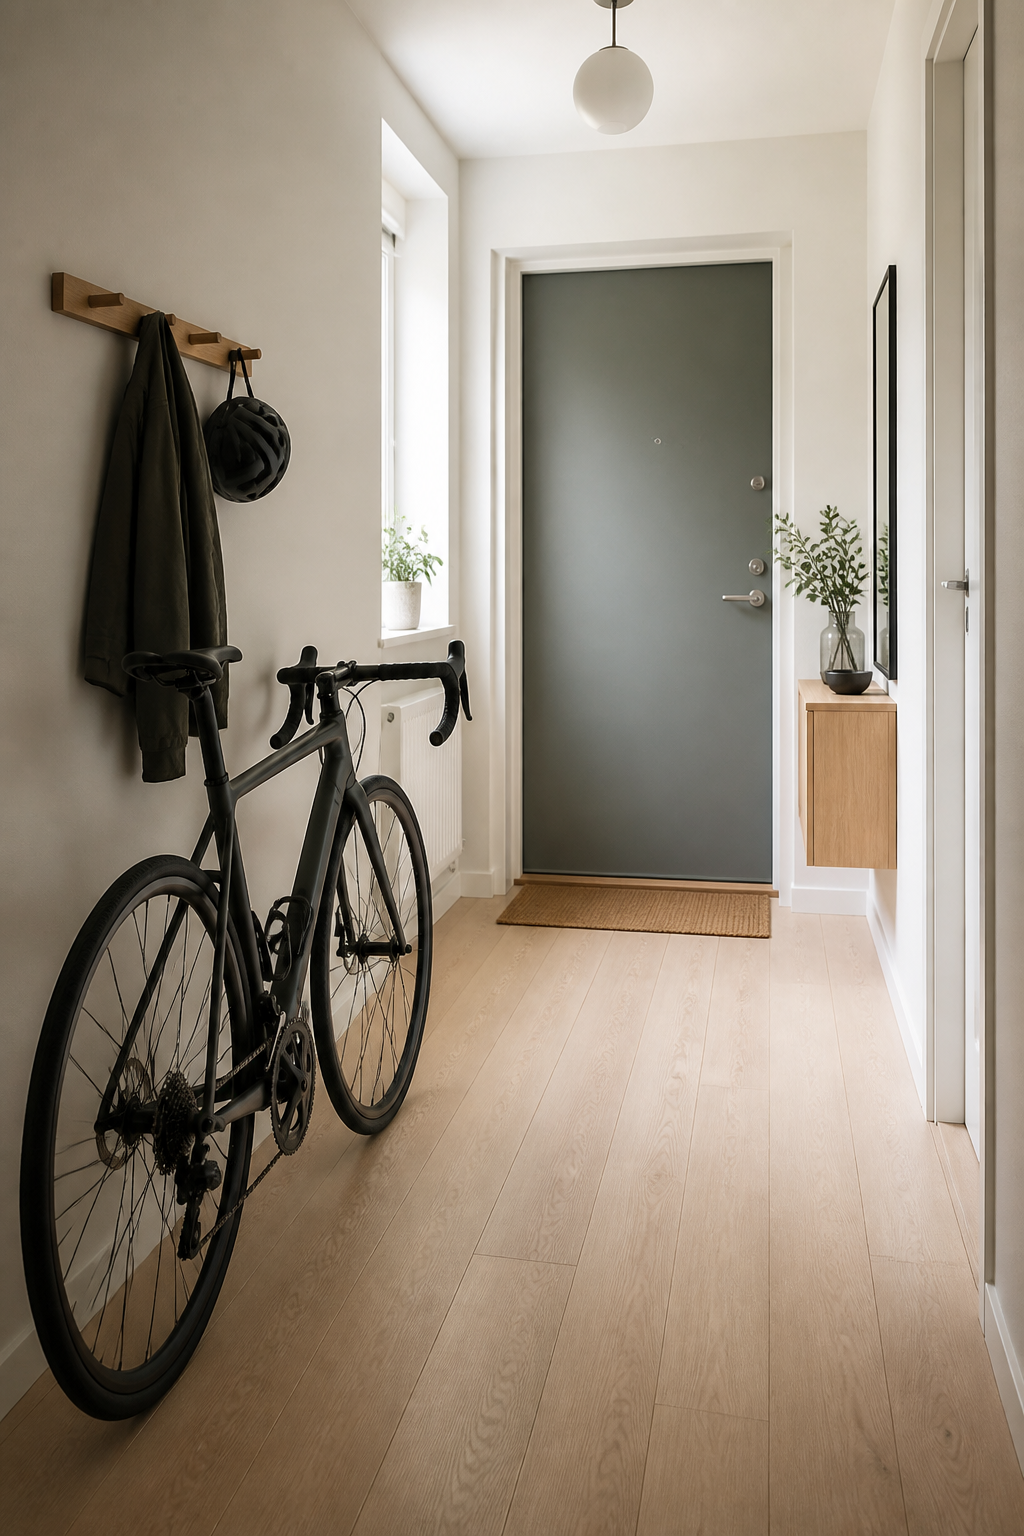
Before installing anything, rehearse the movement with the actual bike. Turn it toward the door, account for handlebar width, and check whether the rear wheel catches a cabinet or radiator. If a vertical rack requires lifting, make sure that action still feels reasonable after a long ride.
This idea is deliberately product-free. Access depends on the room, the rider and the bicycle. A simpler floor position used consistently is better than an elaborate wall system that makes every ride begin with an obstacle course.
8. In a garage, use pedal hangers to keep bikes relatively flat
Garage bike storage has different priorities. The bicycle does not need to become part of the interior, but it must avoid the car, workbench and main walking route. A pedal-mounted system holds the bike horizontally and can create a compact row along a side wall.
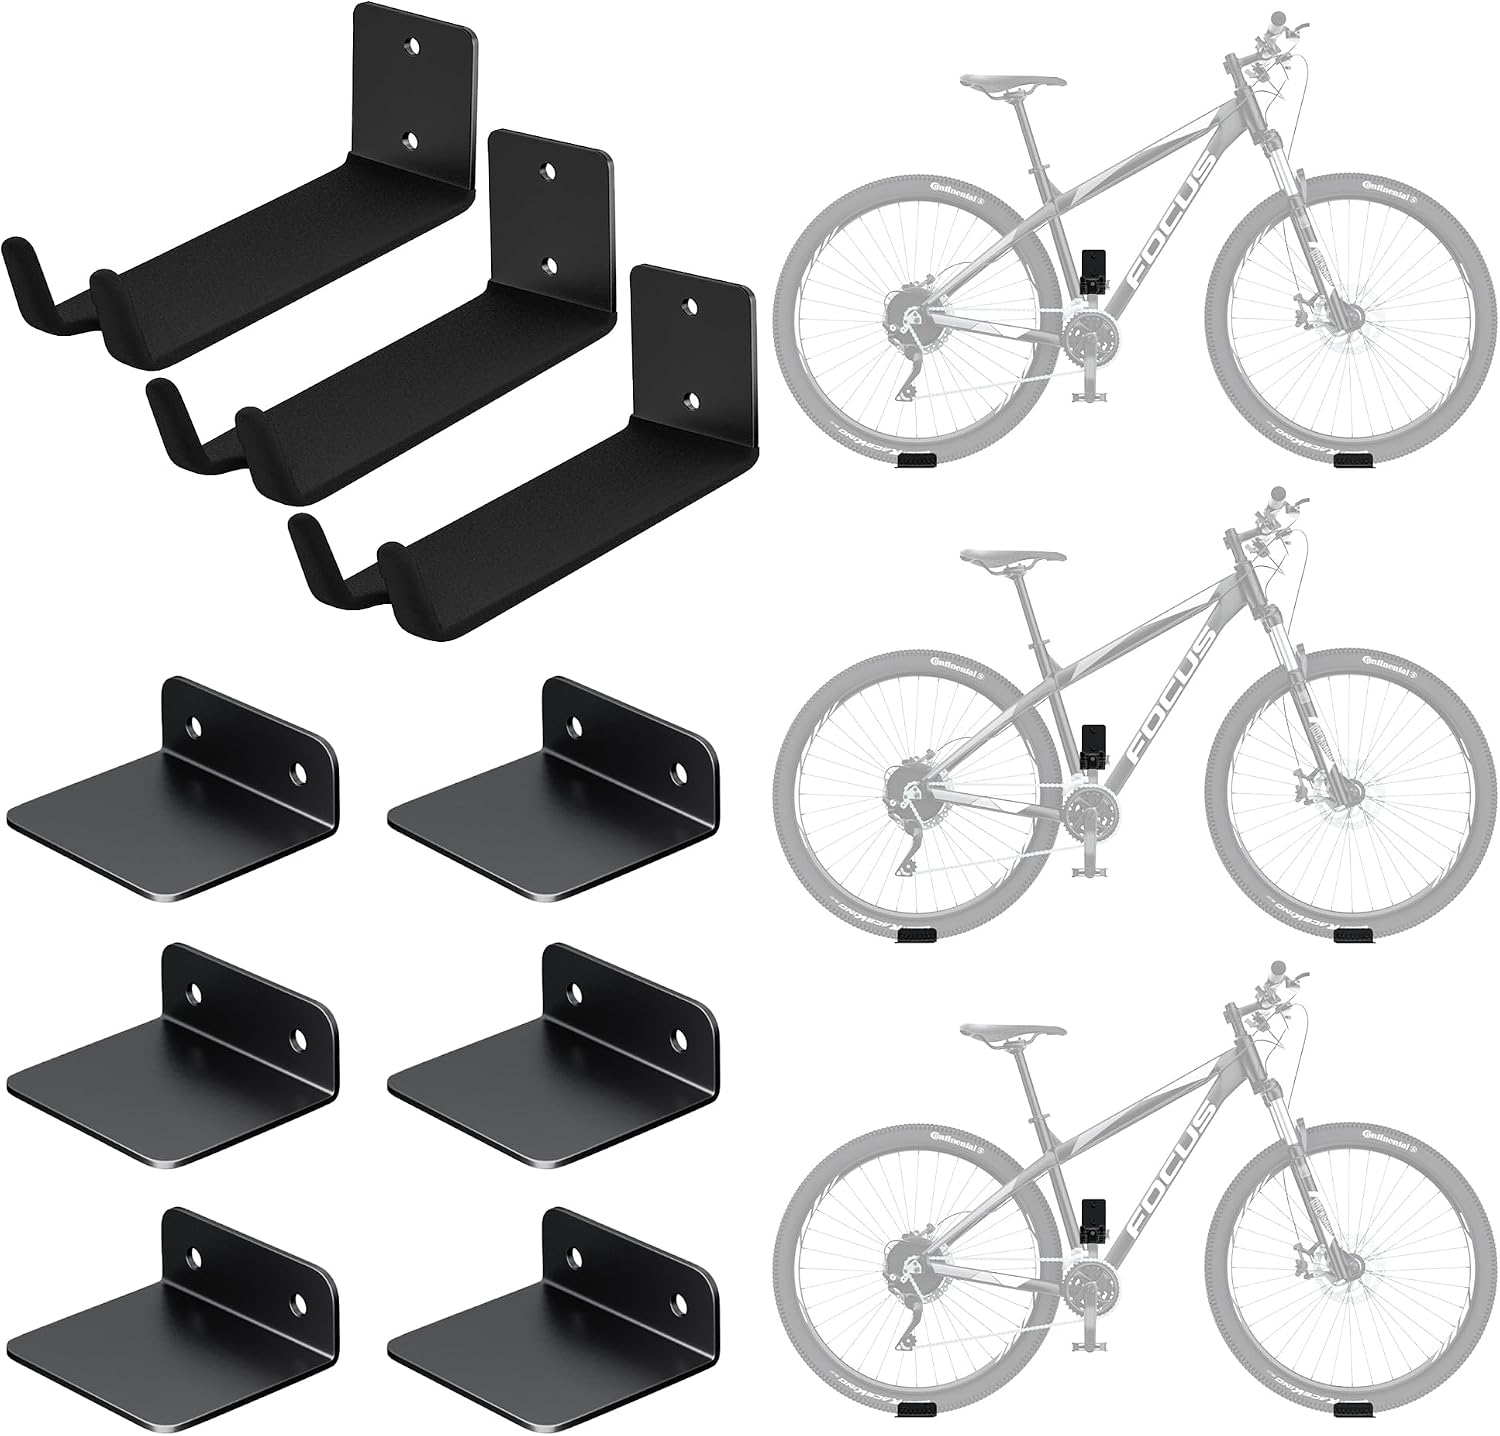
The EVERHANGER pedal-mounted bike hangers come as a three-pack and are listed to hold up to 70 pounds each. The system supports the bicycle by the pedal while the tyres rest against separate wall points.
Check pedal and crank suitability and protect the wall where the tyres make contact. This is better suited to a utility space than a living room, where three projecting bikes would dominate the wall.
9. Reserve ceiling storage for bikes you do not need every day
Ceiling hoists free the most floor area, but they also introduce the greatest retrieval effort. That makes them useful for seasonal, spare or family bikes—not the road bike required for tomorrow morning’s session.
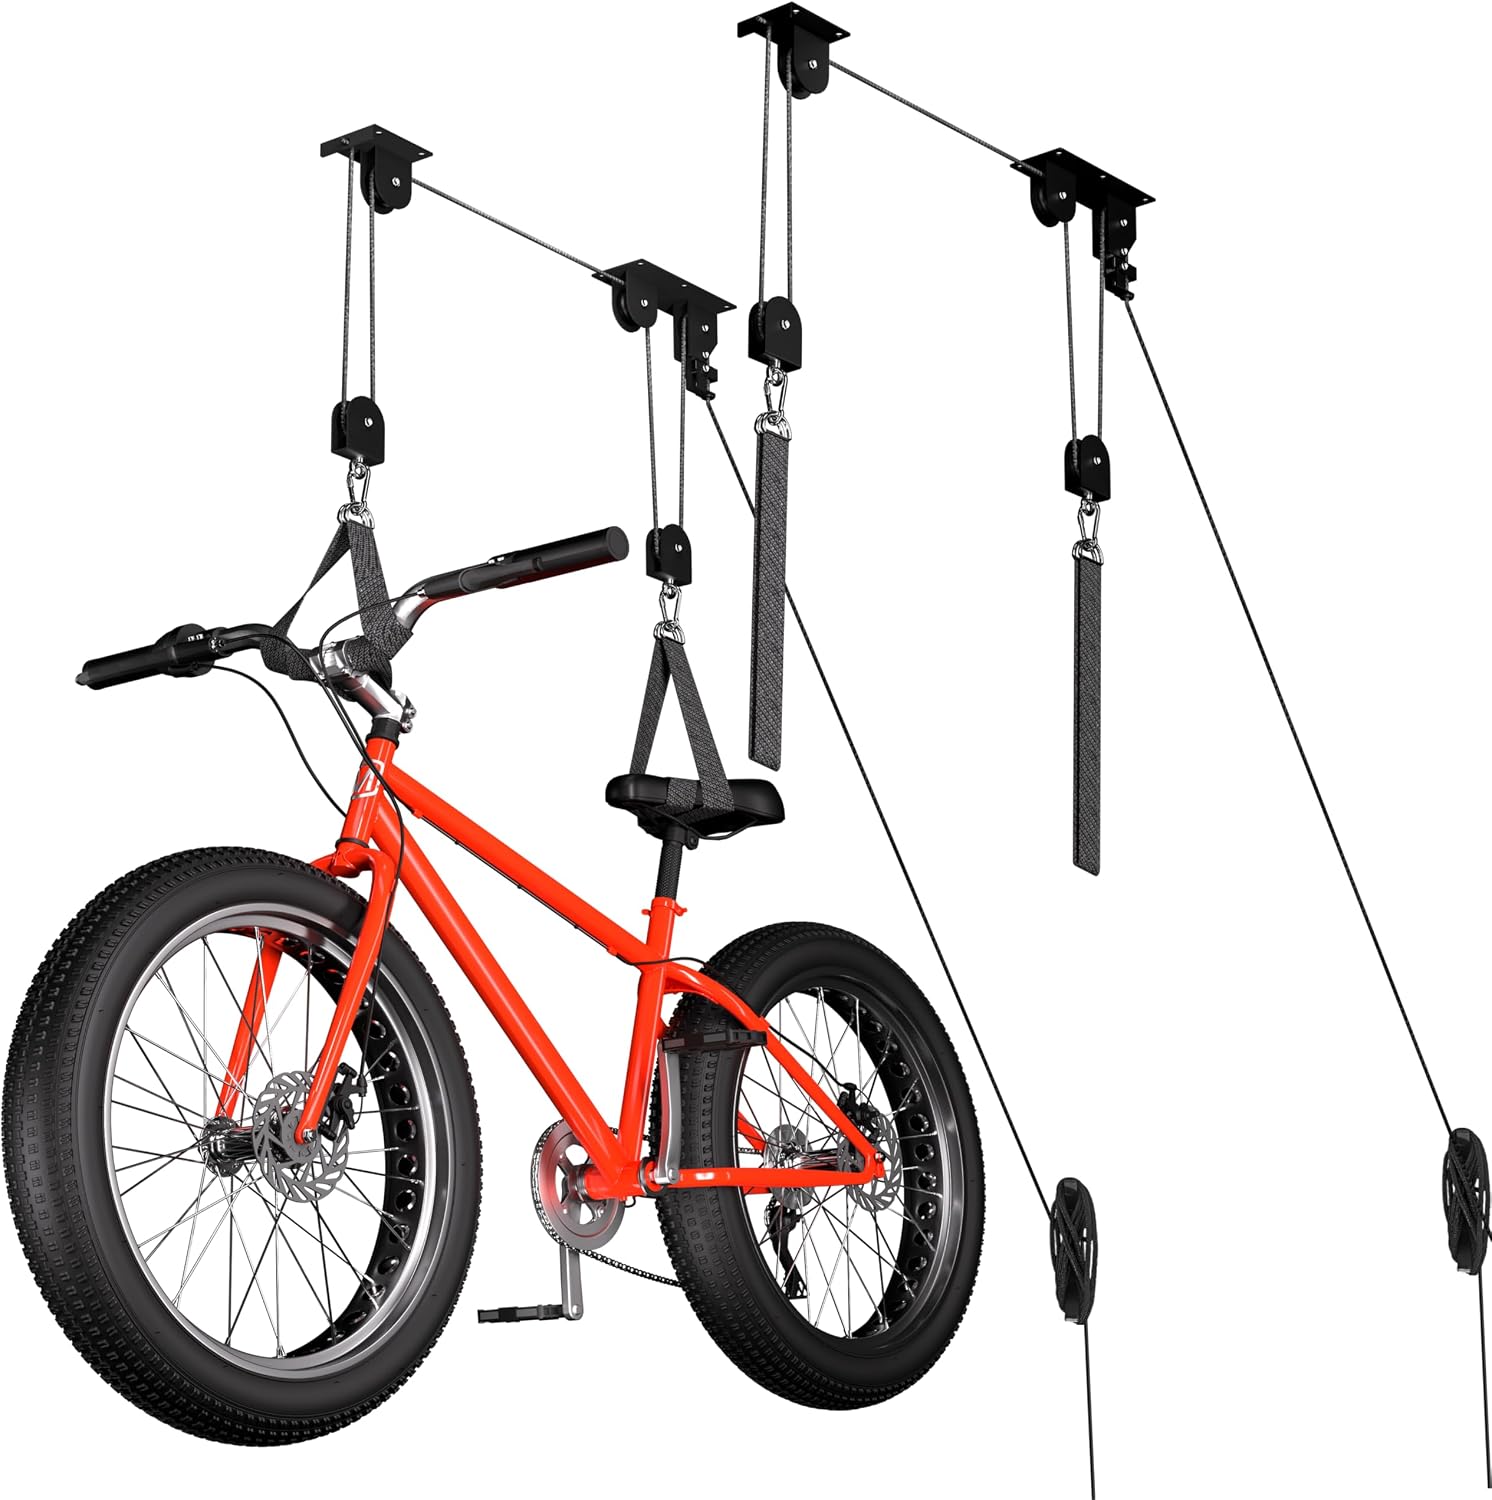
The TRUSOON two-pack garage bike pulley system uses overhead space that would otherwise remain empty.
Before choosing any hoist, verify the manufacturer’s weight limit, maximum ceiling height, rope-lock design and required joist spacing. Measure the raised bicycle against the garage door, lighting and the tallest vehicle beneath it. Overhead storage only works when every moving element still has safe clearance.
10. Divide a garage by access frequency, not bicycle type
A garage containing several bikes does not need one universal rack. It needs a hierarchy. The daily commuter or training bike should remain at hand height. Children’s and family bikes need simple positions that do not require heavy lifting. Seasonal bikes can move higher.
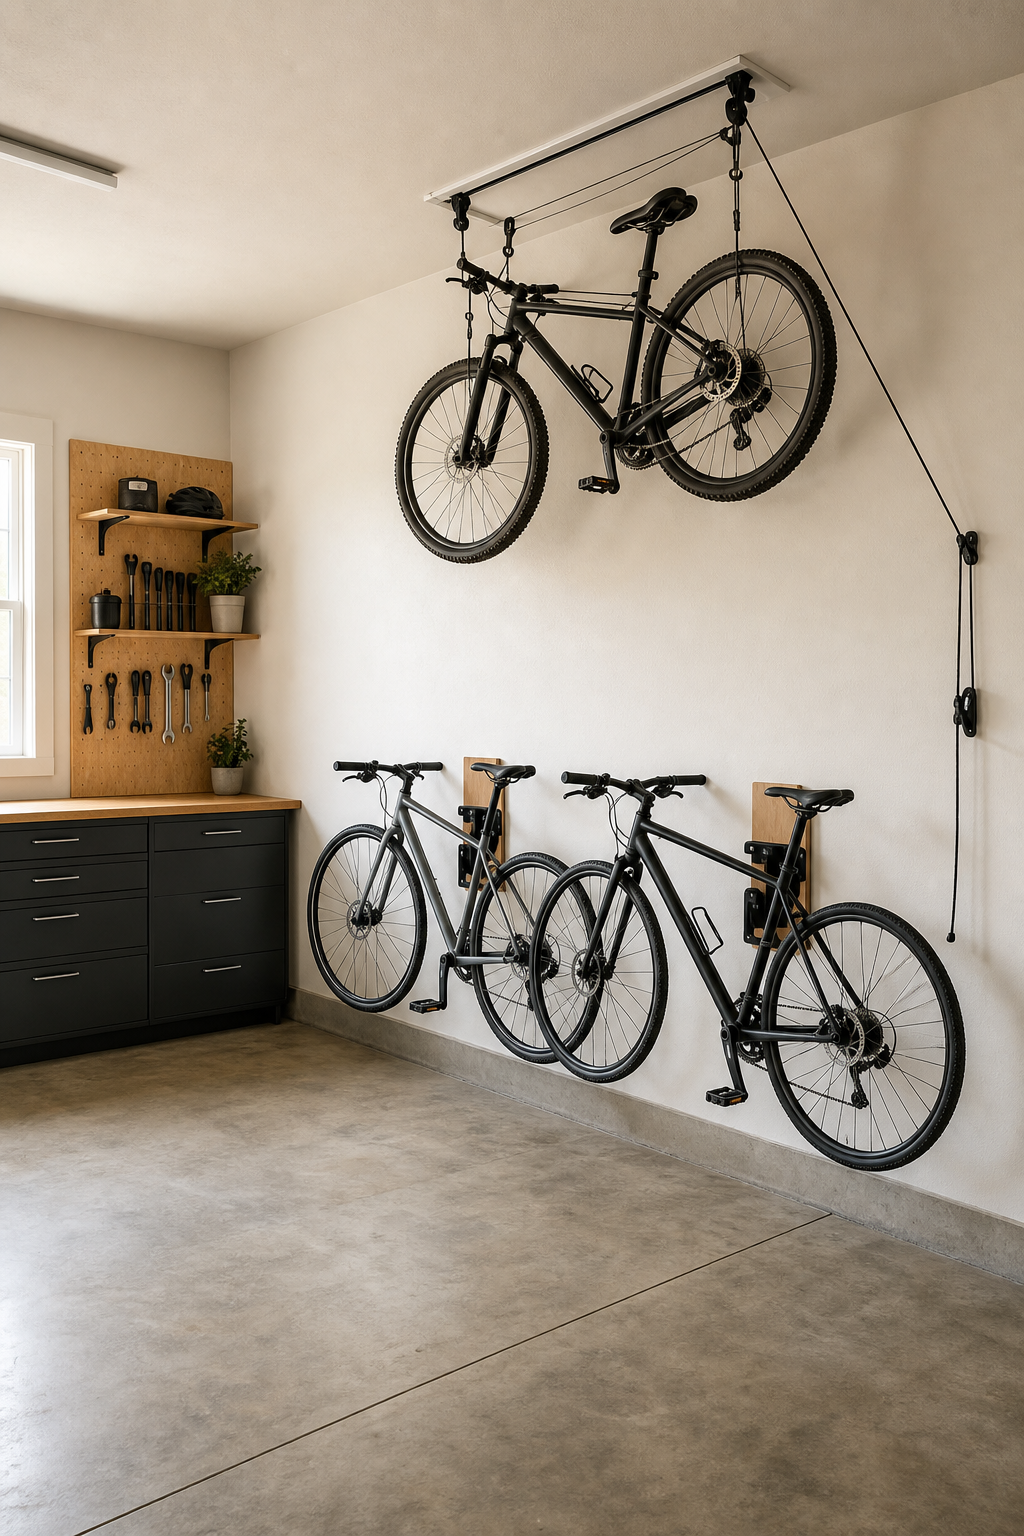
Combine systems according to use: swivelling mounts for frequently ridden bikes, a freestanding dual rack where drilling is inconvenient, and a ceiling hoist for the bicycle used least often. Keep pumps, helmets and locks beside the bike they belong to instead of building one distant equipment shelf.
This is the section that earns the bike storage garage search territory. The aim is to prevent a dense wall of bicycles that no one can remove without moving another one first.
The best bike storage makes riding easier
Good bike storage should disappear from the routine. The bike comes out without moving furniture and returns without marking the wall.
For one frequently used bike in a rented apartment, begin with a freestanding vertical stand. For two bikes, use height without drilling. Install wall mounts only after checking the wall, frame and handlebar depth. In a garage, let access frequency decide which bikes stay low or move overhead.
Training for an Ironman has made the final test very simple for me: if a storage solution makes it more annoying to begin a ride, it is not saving space in any meaningful sense.
Sttoraboks vertical freestanding bike stand
A compact upright stand for one bicycle that requires no wall fixing.
View at Amazon SPAREHAND Q-Rack II dual-bike storage rack
Adjustable arms place two bicycles vertically without requiring permission to drill.
View at Amazon monTEK swivelling vertical bike mounts
A four-pack of vertical mounts that lets stored bicycles pivot toward the wall.
View at Amazon KOQEIEY horizontal bike and gear wall mount
Horizontal bicycle storage with designated places for a helmet and cycling shoes.
View at Amazon RSSCsports high-elastic indoor bike cover
A washable barrier between a cleaned, dry bicycle and nearby walls, curtains or clothes.
View at Amazon Cycleclub bike trainer mat
A defined, washable boundary for an indoor trainer setup.
View at Amazon EVERHANGER pedal-mounted bike hangers
A three-bike pedal-mounted system that keeps bicycles relatively flat against a garage wall.
View at Amazon TRUSOON two-pack garage bike pulley system
Overhead storage for seasonal or spare bicycles that do not need daily access.
View at Amazon