This article contains affiliate links. If you buy through one, Hyggero earns a small commission at no cost to you. It never changes what we recommend.
Intro
Most home espresso setups are ugly, and almost nobody says so.
Search the phrase and you get counters that look like a small workshop: a machine, a grinder, a knock box, a puck screen, a dosing funnel, a distribution tool, a tamping mat, a bottomless portafilter, three baskets, a thermometer, and a scale — arranged on a bamboo tray as though quantity were the same thing as care. The photographs are lit like tool reviews. The stainless steel is everywhere and it is all a slightly different stainless steel.
There is a Scandinavian answer to this, and it isn’t minimalism for its own sake. It is closer to a question: what is the smallest number of objects that will actually make the coffee better, and can each of them sit on a counter without demanding to be looked at?
The honest answer is about six objects, and one of them matters more than all the others combined.
What follows is the order to buy in, what each thing actually does, and — this is the part most guides skip — the two accessories on this page that are pointless unless you also do something else first.
Buy in This Order
Most people buy the machine first, because it is the thing that looks like espresso. Then, months later, when the coffee is still sour and thin, they buy a grinder and discover that was the problem all along.
Reverse it.
1. The grinder. Grind consistency determines whether water passes through the coffee evenly. Uneven grind means water channels through the loose parts and ignores the rest, and you get a cup that is simultaneously sour and bitter. No machine fixes this. A $700 machine with a bad grinder makes worse coffee than a $200 machine with a good one.
2. The machine.
3. The scale. Not for ceremony — for repeatability. Without one you cannot tell whether today’s better cup was the beans, the grind, or luck.
4. The milk jug, if you drink milk drinks.
5 and 6. The tamper and the distribution tool — and only under a condition explained further down, which will apply to fewer of you than you’d think.
If your budget runs out after step two, stop. Four good objects beat nine mediocre ones, and the counter will thank you.
Part One: The Four That Do the Work
1. The Grinder — Buy This First
A conical burr grinder crushes beans between two rotating surfaces at a set distance. A blade grinder chops them into gravel. That is the whole difference, and it is the difference between espresso and disappointment.
Two things to look for beyond “burr”: enough grind settings at the fine end, because espresso lives in a narrow band where one step can turn a good shot into a bad one, and low speed, because fast burrs generate heat and static, and static makes ground coffee cling to everything it touches.
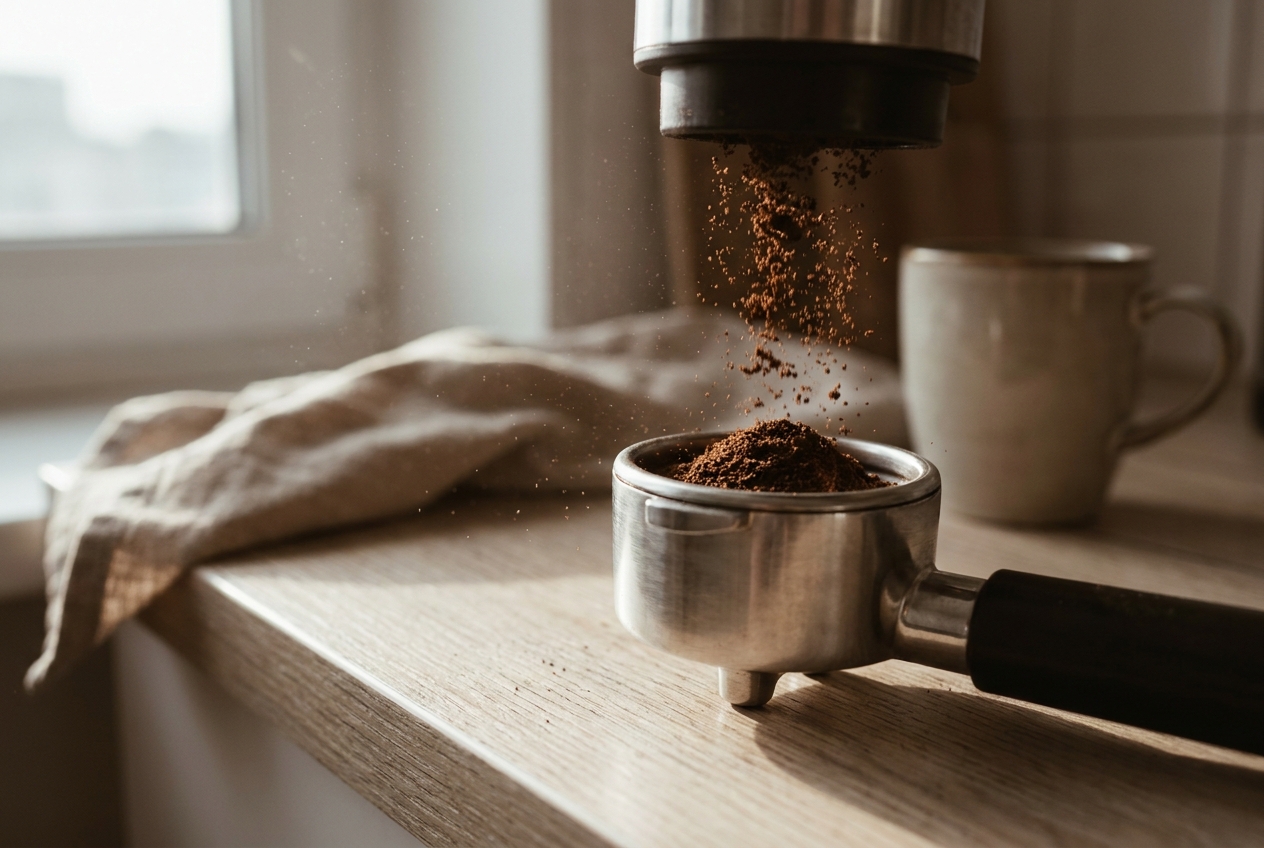
Our pick: the IAGREEA conical burr grinder — 48 grind settings, 450rpm, anti-static, with a portafilter holder so it grinds straight into the basket rather than into a cup you then tip into the basket, spilling a little each time. Around $90. Stainless, plain, no screen, no branding across the front. It is not a beautiful object, but it is a quiet one, which on a kitchen counter is most of the way there.
A note before you buy: look at the product photographs properly. Grinders in this price bracket are often styled to look like professional café equipment — matte black, aggressive angles, a logo. If the one that arrives reads “barista competition” rather than “kitchen,” it will fight everything else on your counter for the next five years.
2. The Machine
Here is the constraint that actually matters in most European kitchens: width. Counter space next to a sink, between a wall and a stovetop, is measured in centimeters and there are never enough of them.
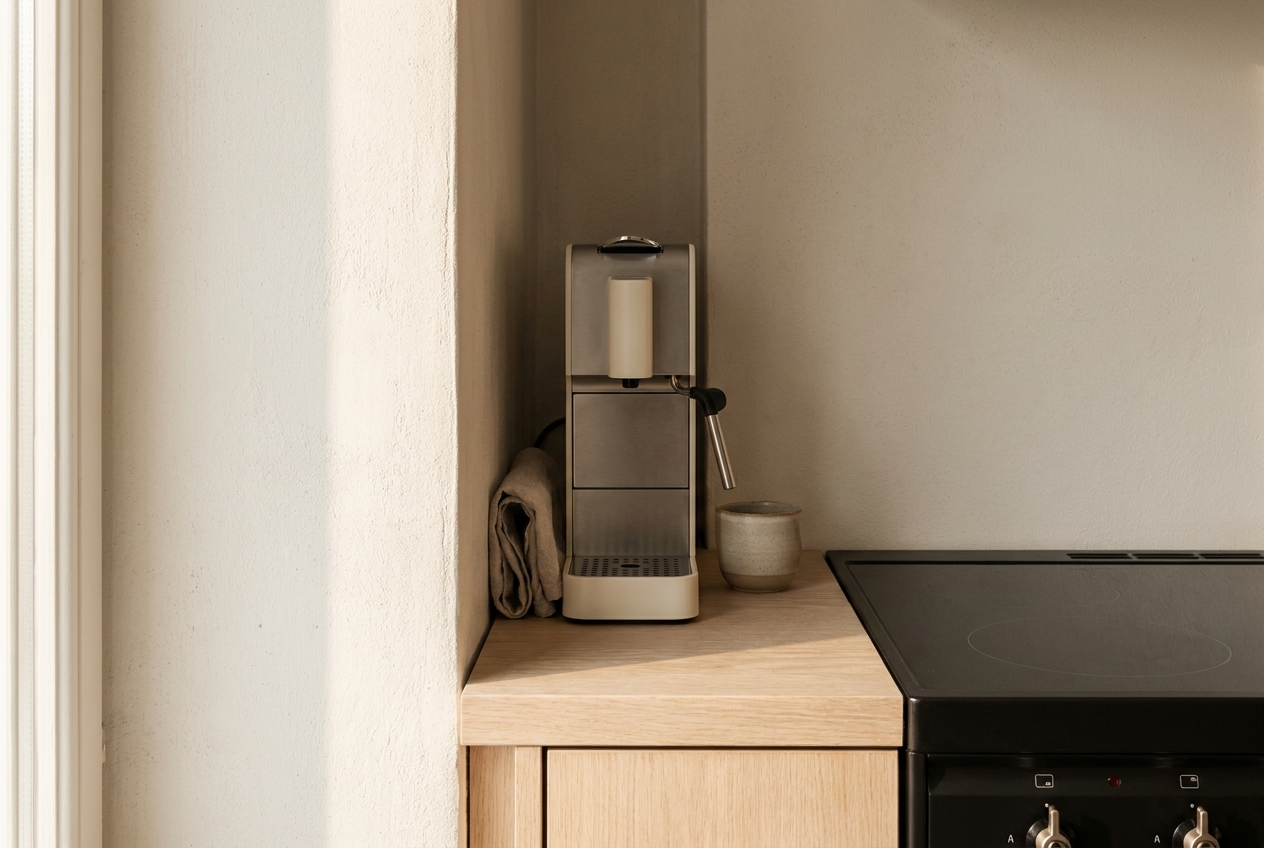
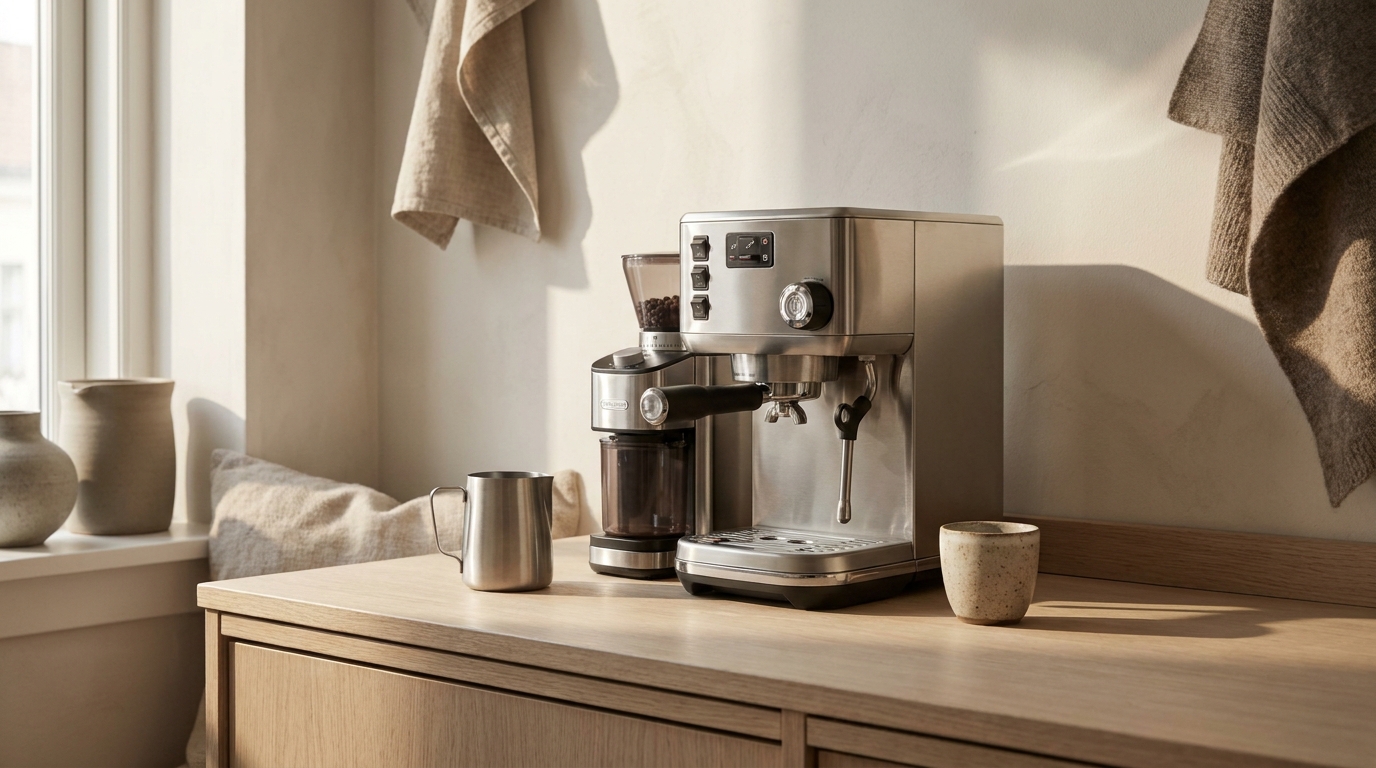
Our pick: the De’Longhi Dedica Duo, at 149mm wide — about the width of a paperback. It is a 15-bar pump machine with a steam wand, a single thermoblock, a 1.1-liter tank, and a cold-extraction mode. Around $249.
It is the slimmest credible espresso machine we know of, and in a narrow kitchen that isn’t a nice-to-have, it is the entire decision.
Now the honest part. Two independent reviewers found the same weakness, and it is worth knowing before you buy rather than after:
- The steam wand is underpowered. It looks the part — a proper ball joint, café styling — but there isn’t enough steam behind it to produce good microfoam quickly. You can froth milk. You cannot easily pour latte art. If milk drinks are the main reason you want a machine, this is the specification to weigh hardest.
- It ships with pressurised baskets. These have a small hole that creates artificial back-pressure, so you get crema regardless of whether your grind and technique are any good. That is genuinely useful for a beginner, and it is also a ceiling: with a pressurised basket, better technique produces almost no improvement, because the basket is doing the work. Non-pressurised baskets are available separately and are the single cheapest upgrade to the cup.
- Cold-extraction mode exists. Reviewers are lukewarm on the result. Treat it as a bonus, not a reason to buy.
- The body is largely plastic with a steel front. At this price that is the trade, and the trade is width.
None of this makes it a bad machine. It makes it a specific machine: buy it for the footprint and for straight espresso, not for cappuccino.
3. The Scale
Our pick: the OutIn Claro coffee scale — 2kg capacity, 0.1g resolution, built-in timer, rechargeable.
0.1g is more precision than any home setup needs. What you actually want is the timer sitting next to the weight, so you can see both numbers at once and start writing down the two figures that make espresso repeatable: how much coffee went in, how much liquid came out, and how long it took.
Eighteen grams in, thirty-six out, in about thirty seconds is the standard starting point. From there you change one variable at a time. Without a scale you aren’t adjusting, you’re guessing, and every good cup is an accident you can’t reproduce.
This is the one piece of gear on this page that looks like gear. It’s a black rectangle. Keep it in a drawer between uses — it takes two seconds to fetch, and a bare counter is worth more than the two seconds.
4. The Milk Jug
Our pick: the De’Longhi DLSC060, 350ml — plain stainless, no logo across the body, the proportion right.
350ml is the correct size for one or two drinks. Larger jugs are harder to control and produce a lot of milk you throw away. The spout shape determines whether pouring is a controlled stream or a splash.
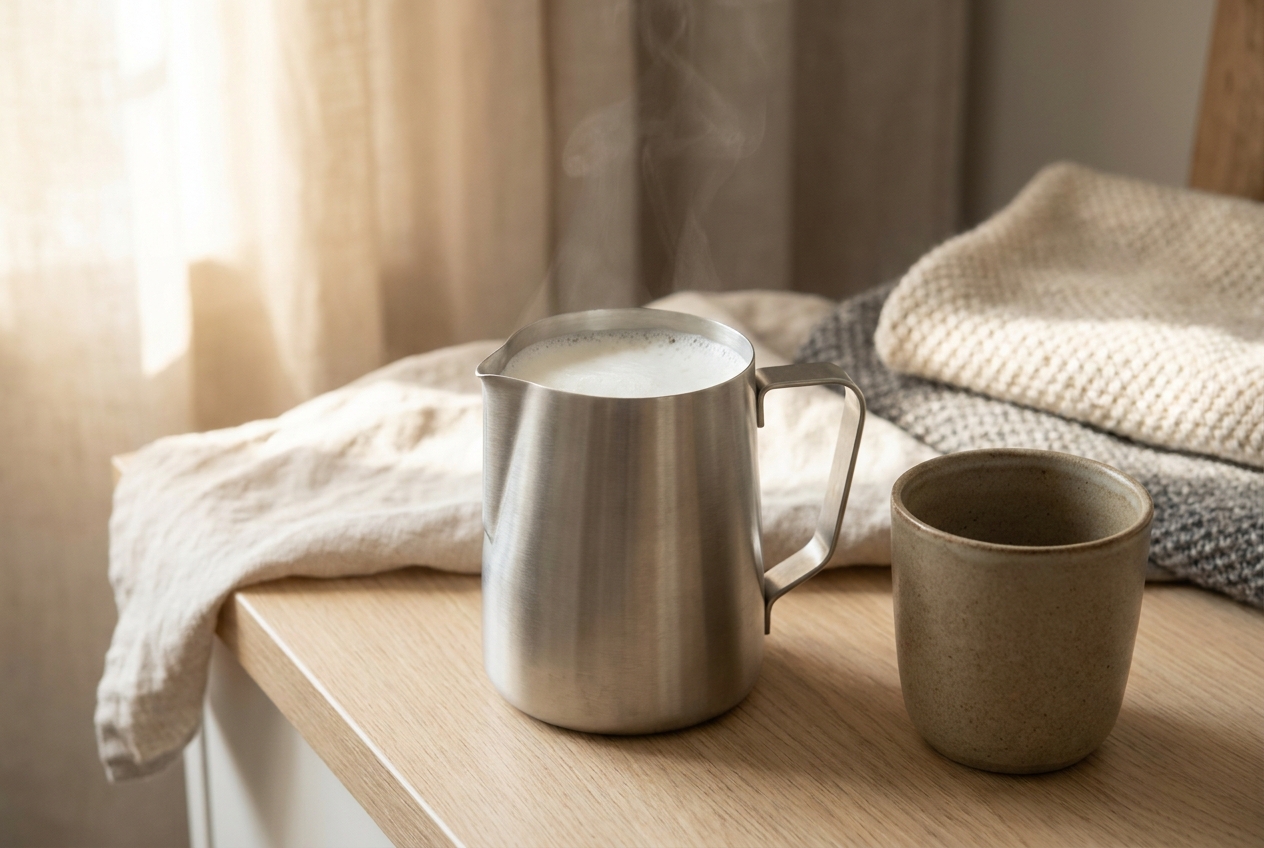
Two honest caveats. Given the steam limitations above, this jug will be doing careful, slow work rather than café work — buy it to froth milk properly, not because you expect rosettas. And unlike the scale, this one can stay out: a plain steel jug on an open shelf reads as kitchen, not equipment. It is the only object here we’d actively leave visible.
Part Two: The Two That Only Make Sense Together — and Only If You Do One Other Thing
The Tamper and the Distribution Tool
The WELLYUK 51mm tamper and stirrer set is a spring-loaded calibrated tamper — it clicks at a consistent pressure so every puck is compressed the same — bundled with a WDT tool, which is a handful of fine needles you stir through the dry grounds to break up clumps before tamping.
51mm is correct for the Dedica.
And here is the part no one tells you: on a machine with pressurised baskets, both of these tools do almost nothing.
The pressurised basket generates back-pressure through a single small hole, independently of how evenly you distributed the grounds or how hard you pressed them. That is the basket’s entire purpose — to make the result insensitive to technique. Add a calibrated tamper and a distribution tool to that system and you have bought precision the machine is designed to ignore.
They become genuinely useful the moment you swap in a non-pressurised basket, where the coffee puck itself creates the resistance and even distribution suddenly determines whether the shot channels. Then the WDT tool is arguably the highest-value ten minutes of technique you can learn, and the tamper stops being decorative.
So: buy the tamper set and the non-pressurised basket together, or buy neither yet. There is no version of this where the tamper alone changes your coffee.
One more thing: this set comes in black metal and in walnut. Get the walnut. It is the same tool, it costs about the same, and it is the difference between an object you leave on the counter and an object you hide in a drawer.
The Route Without a Machine
Some readers will get this far, add it up, and decide it is too much — too much money, too much counter, too much of a hobby. That is a completely reasonable conclusion and there is a good answer to it.
A stovetop moka pot makes strong, concentrated coffee on a stovetop for roughly the price of two bags of beans. It is not espresso — the pressure is a fraction of nine bar, so there is no true crema — but it is closer than filter coffee, it takes four minutes, and it needs no electricity, no counter space and no maintenance beyond rinsing.
It is also, unlike almost everything else on this page, a genuinely beautiful object. The classic octagonal aluminum form has been in production since the 1930s and looks like design rather than equipment. It can live on the stovetop permanently and improve the kitchen.
Choose the color carefully. These come in a range of finishes, and a bright one will be the loudest thing in a calm kitchen for the next decade. Plain aluminum or steel.
If you buy one thing from this article, and you are not certain espresso is a hobby you want, buy this one.
The Travel Exception
The OutIn Fino portable grinder is a battery-powered burr grinder with 28 settings, at around $200.
It has no place in the setup described above — it is twice the price of the countertop grinder and holds less coffee, and it is designed to be carried rather than to sit still. Buy it if you take coffee seriously away from your kitchen: a summer house, long trips, a workplace with no decent option. For a counter, the countertop grinder is both better and cheaper.
We are flagging the price direction explicitly because it runs against intuition: the portable one is the expensive one.
What to Skip
Every one of these appears in most home espresso guides. None of them belongs in a first setup.
- A knock box. It is a box you hit coffee into. Your bin does this.
- A bottomless portafilter. A diagnostic tool for a problem you cannot yet fix.
- A dosing funnel. Solves spillage the grinder’s portafilter holder already solved.
- A tamping mat. A folded dish towel.
- A milk thermometer. The side of the jug tells you: when it is too hot to hold for three seconds, stop.
- A second machine for filter coffee. If you want filter coffee, a pour-over costs a fraction and takes up almost no room.
The point isn’t frugality. It’s that each object you add is a thing that lives on a surface, gets wiped around, and has to be looked at every morning for years.
Making It Look Like It Belongs
Six objects still need somewhere to go, and this is where most setups fail — not on the gear, on the arrangement.
Group them, don’t line them up. A machine, grinder and jug spread evenly across a counter reads as clutter. The same three pushed together into one block, with clear counter either side, reads as a station. Empty space is what makes the group look deliberate.
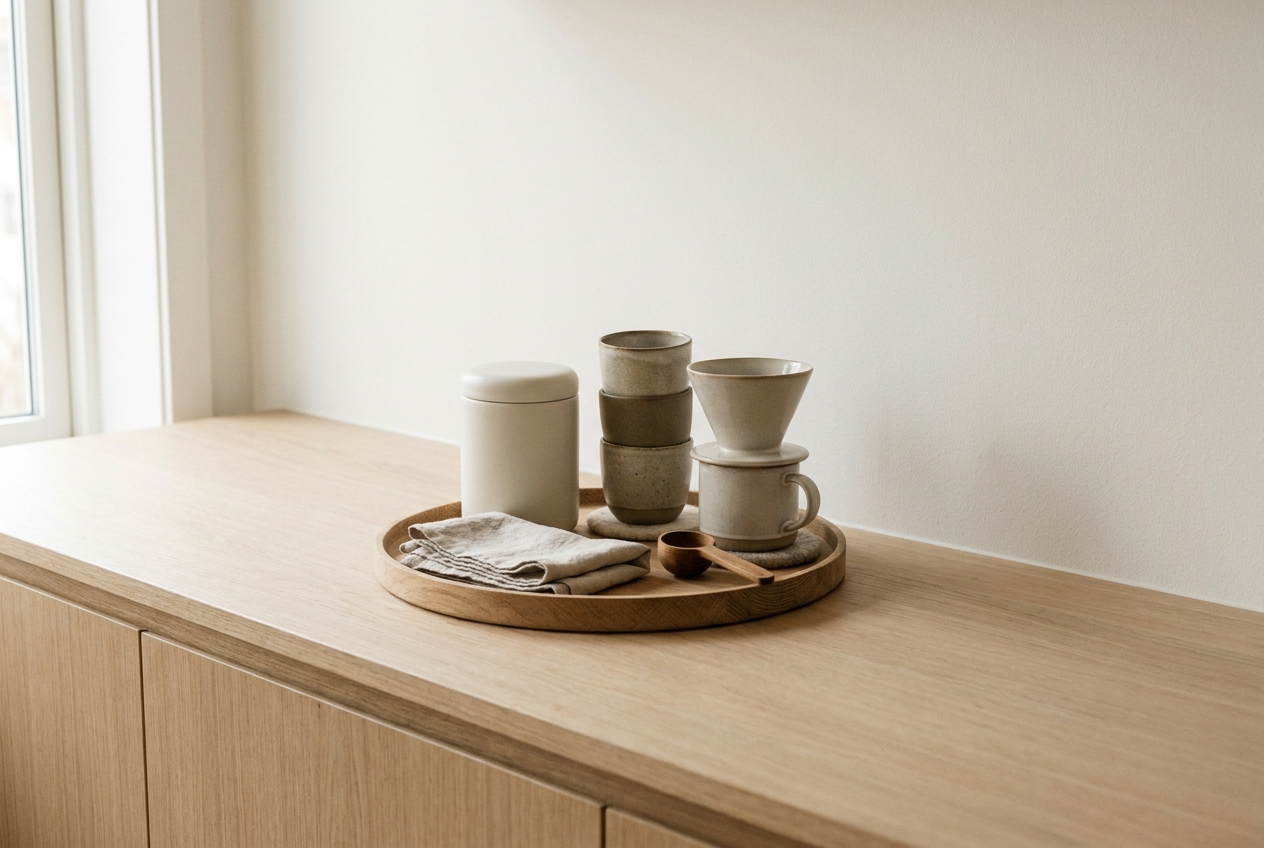
One tray under everything. A tray gives the group an edge. It also means the whole thing lifts off in one movement when you clean.
Beans go in something opaque. Light and air stale coffee, so the clear jar is worse for the coffee and busier to look at. A ceramic or steel canister with a seal solves both.
Hide the cable. One cable disappearing behind the machine is invisible. Two crossing the counter is the first thing anyone sees.
Leave one thing warm. A stack of stoneware cups, a wooden spoon, a small dish for the tamper. All-steel reads clinical; one warm material is enough to stop it.
Bringing It Together
Buy the grinder first. Buy the machine for its width if your kitchen is narrow, and know its steam wand is its weakness. Get a scale and write two numbers down. Skip the tamper until you have a non-pressurised basket, at which point buy both.
And if all of that sounds like more than you want from a morning — buy the moka pot, put it on the stovetop, and be finished.
Good coffee at home is four objects and a habit. The rest is shopping.
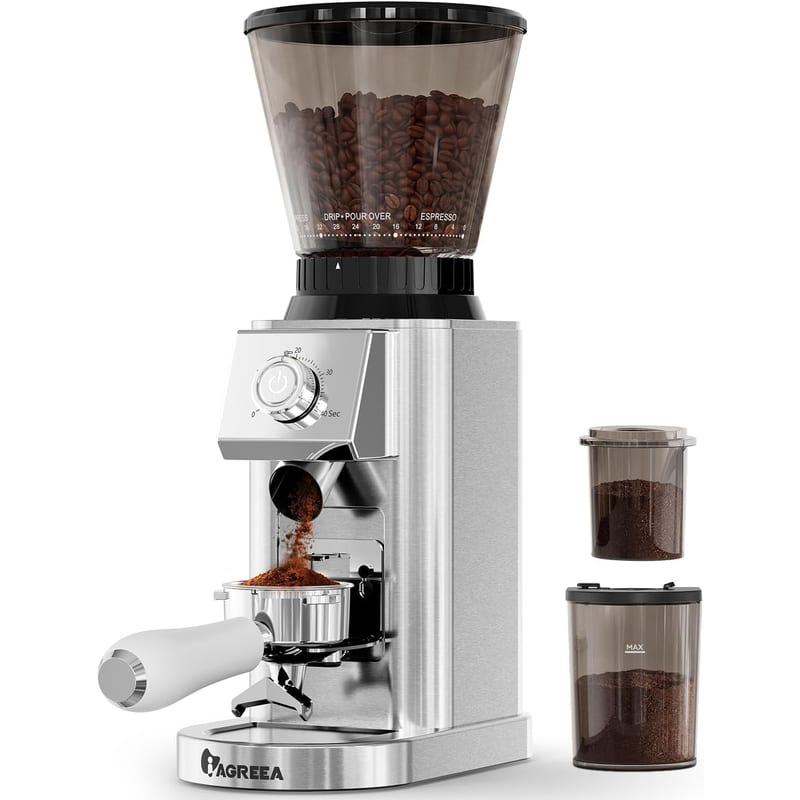
IAGREEA conical burr grinder
Forty-eight settings at the fine end and 450rpm burrs that stay cool, with a portafilter holder so it grinds straight into the basket. Buy this before the machine.
View at Amazon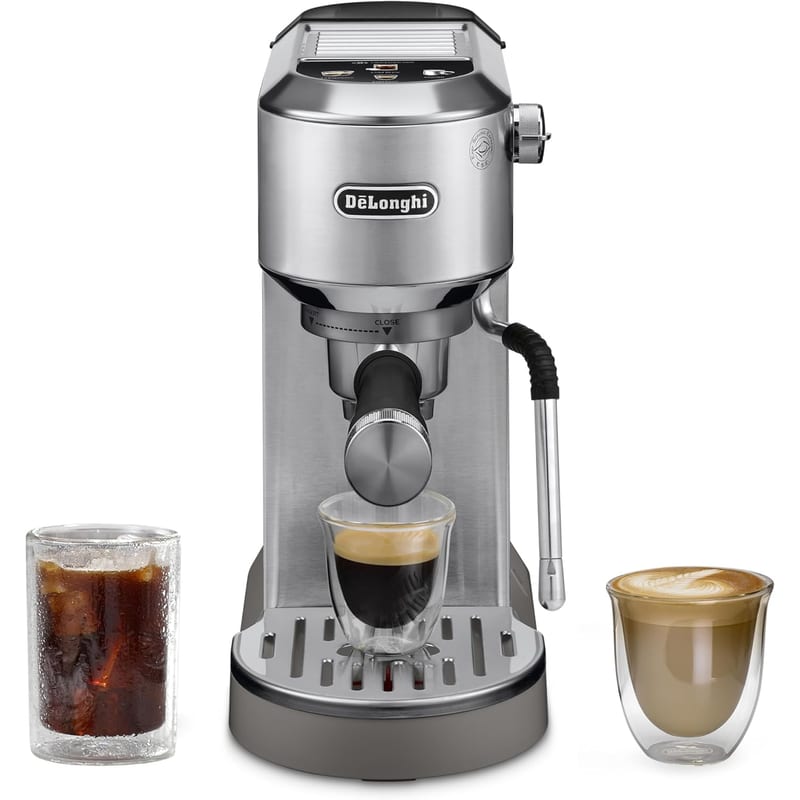
De'Longhi Dedica Duo espresso machine
149mm wide — about a paperback. Buy it for the footprint and for straight espresso; the steam wand is its known weakness.
View at Amazon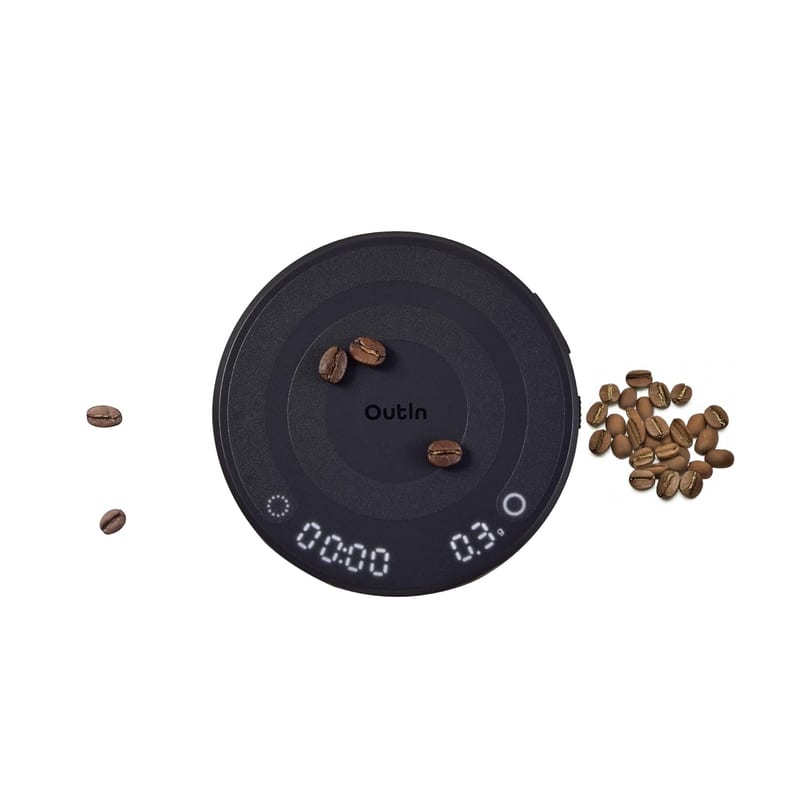
OutIn Claro coffee scale
The timer sits beside the weight, so you can record dose, yield and time at once. Without it every good cup is an accident.
View at Amazon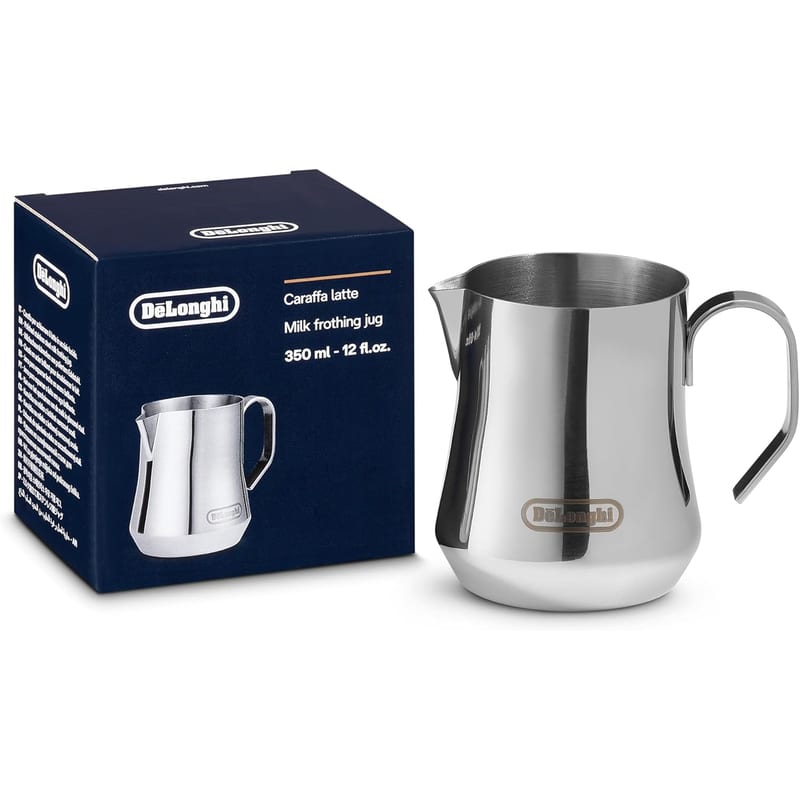
De'Longhi DLSC060 milk jug, 350ml
Plain stainless, no logo across the body, and the right size for one or two drinks. The only object here worth leaving out.
View at Amazon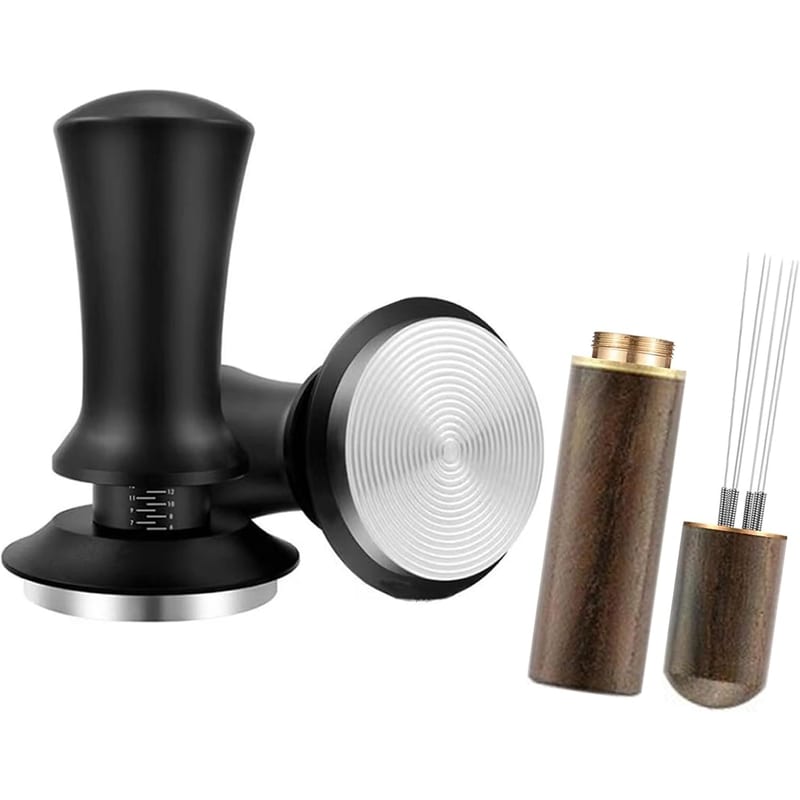
WELLYUK 51mm calibrated tamper and WDT set
A spring-loaded tamper and distribution tool. Worth buying only alongside a non-pressurized basket — see the article.
View at Amazon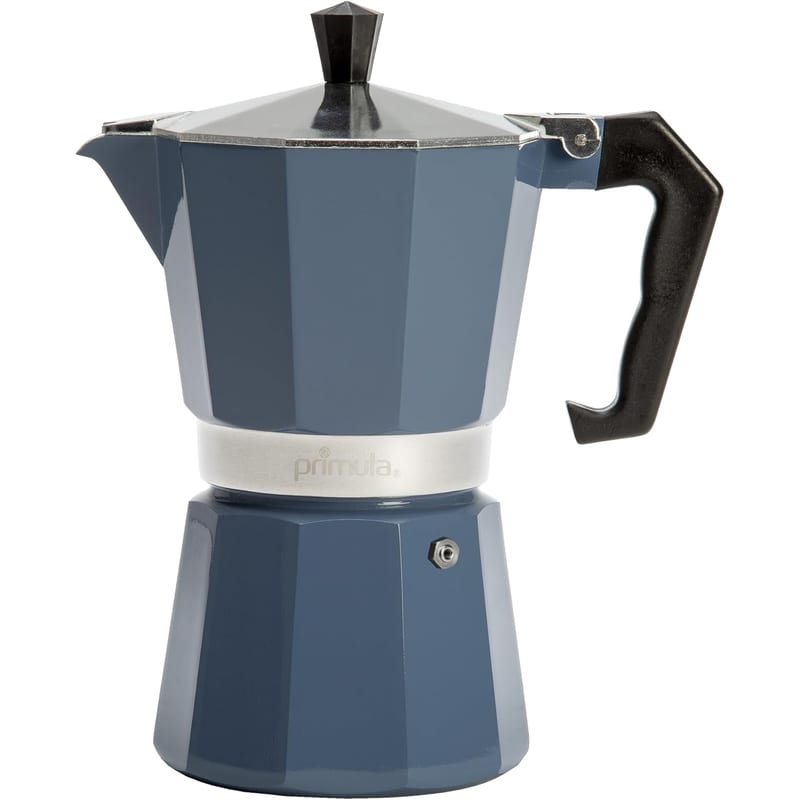
Primula stovetop moka pot
Strong, concentrated coffee on the stovetop for the price of two bags of beans. The whole setup in one object, if espresso is not a hobby you want.
View at Amazon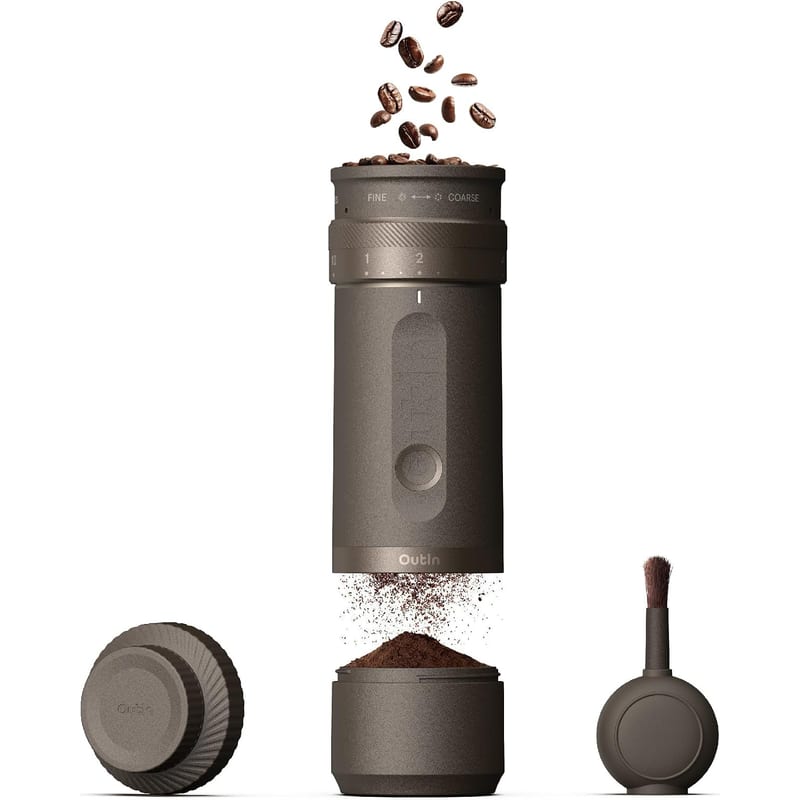
OutIn Fino portable grinder
A battery burr grinder for coffee away from the kitchen. Counterintuitively the expensive one — for a counter, the countertop grinder is better and cheaper.
View at Amazon